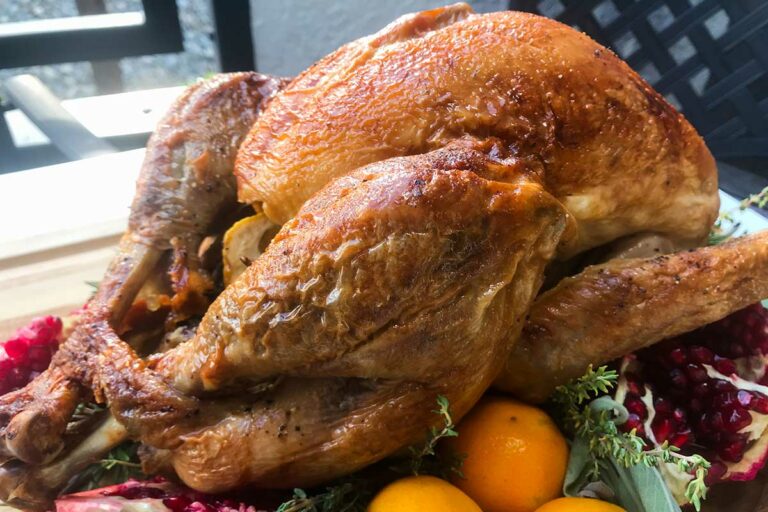
I have been making my roast turkey the same way for years. I adapted the recipe to a smaller turkey (I believe this one originally called for a 20lb bird.). I’ve learned over the years that a smaller turkey cooks more evenly and you have a much better chance of NOT OVERCOOKING the breast meat while trying to get the legs and thighs cooked. Need more turkey? I recommend cooking two smaller birds rather than one big one.
Over the years, I’ve changed this up and have made substitutions when needed. While I like using white wine for basting, it is not necessary. You can use chicken stock and get similar results. Want to cut back on the butter, use half the butter in the basting liquid and use more wine or stock. I used to just use salt and pepper to season the inside and outside of the bird. In time, I added garlic and onion powders to the outside of the bird and find it gives it even more flavor. If you don’t like onion and garlic (who are you people? LOL) just omit it.
Cooking a great, moist bird requires a couple of things.
Here is my list of the top 6 things you should do to ensure a moist turkey.
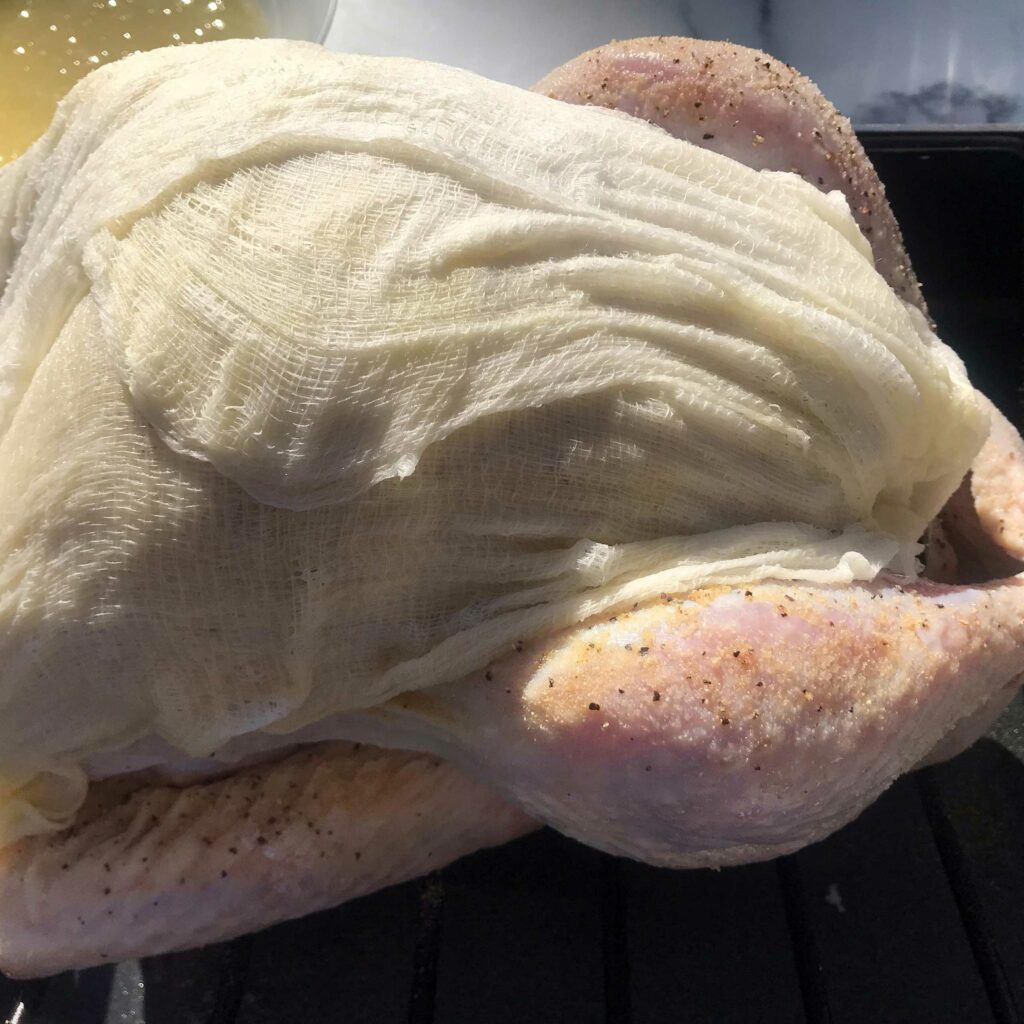
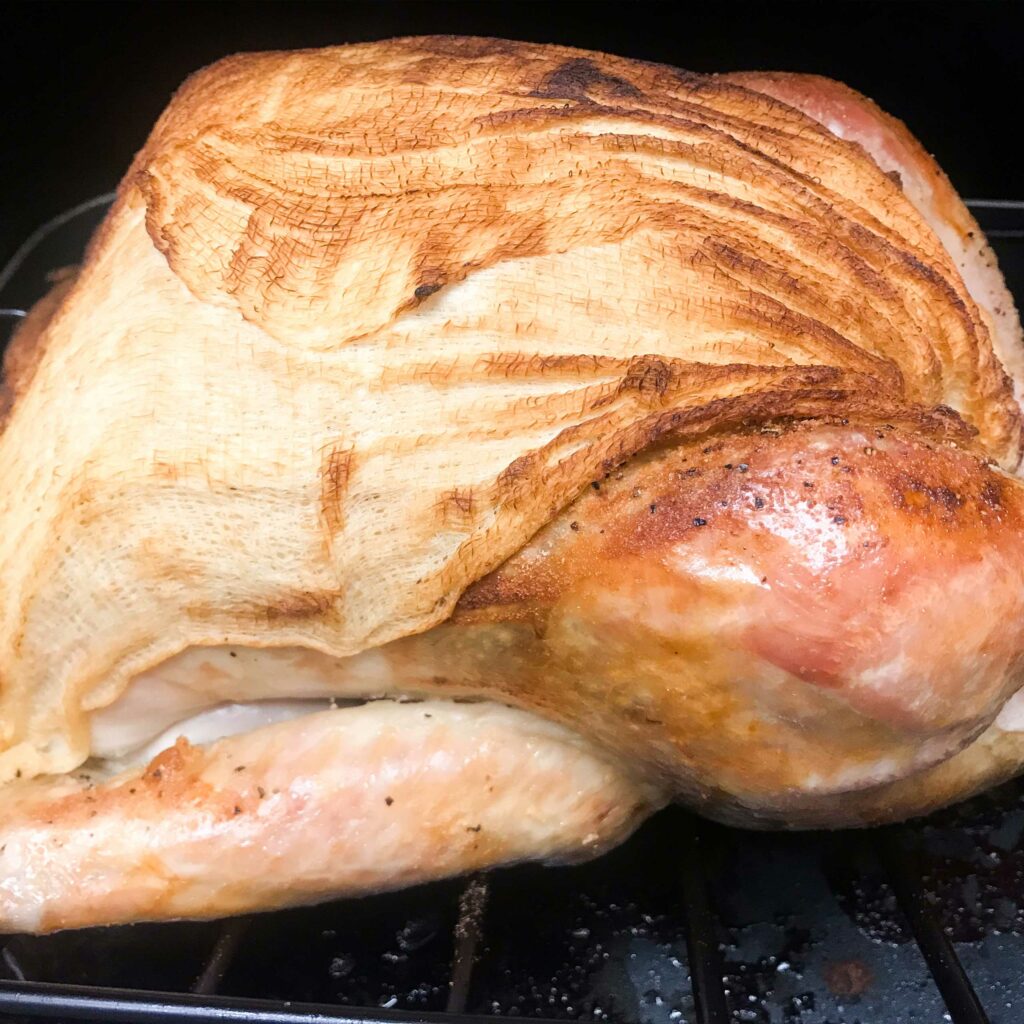
1. The cheesecloth dipped in butter and wine/stock, keeps the breast moist and keeps it from drying out. I find that makes the biggest difference.
2. Coating the bird with butter before adding the cheesecloth gives it an extra layer of protection from the heat plus adds a ton of flavor.
3. Basting the bird every half hour through the cooking process ensures moisture gets into the bird and helps make the skin crispy – the best part!
4. Don’t stuff your bird. Why? Because it can increase the cooking time by hours and that will definitely dry out the breast meat. When I was a kid, my mother put that turkey in the oven at 7am and we didn’t eat until 5pm. Yes, it was a 20 lb. bird but it was also stuffed. No one should be cooking at turkey for 10 hours. Bake your stuffing on the side (that will officially change the name to dressing) and get crispy pieces of stuffing and a moist turkey breast.
5. Let the turkey rest at least 30 minutes. 45 minutes if it is a larger bird. Cover it with foil and let those juices be reabsorbed by the bird before carving. If you carve it too soon, the juices will all run out of the meat causing you to have dry turkey.
6. Invest in a meat thermometer and stop guessing! The single best investment you can make is a good meat thermometer so you know when the bird is done. It won’t be over cooked or under cooked. You want the thickest part of the thigh to read 180 degrees F. (When using the thermometer, don’t touch the bone when inserting it into the thigh.) During the rest time, the meat will continue to cook.
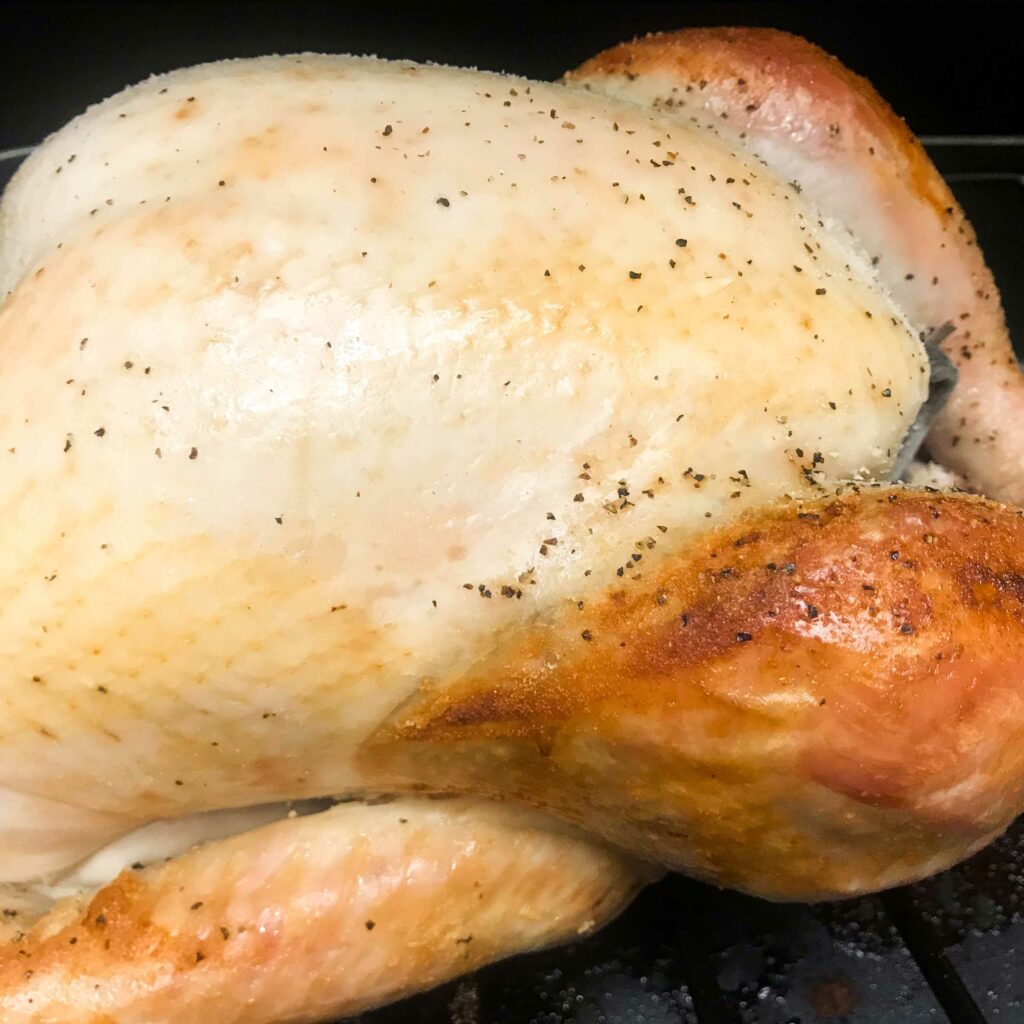
Note: When you soak the cheesecloth in the butter and wine or stock mixture, you are going to place over the breast of the turkey and down the sides. You’ll keep that on during the first two hours of roasting and baste right over the cheesecloth. At the two hour mark, you’ll remove the cheesecloth and continue cooking and basting until done. The result, perfectly cooked and moist turkey breast.
Thawing a frozen turkey
If you purchase a frozen turkey, be sure you allow ample time for the bird to thaw in your refrigerator. A 12 pound bird will take 3-4 days to thaw. Use the following as a guideline for thawing your bird. Remember, if you can buy a fresh turkey that hasn’t been frozen, try that. The taste is amazing but they can at times, be hard to find.
TURKEY SIZE IN POUNDS THAW TIME IN REFRIGERATOR
10 – 12 lbs. 3 – 4 days
12 – 16 lbs. 3 – 5 days
16 – 20 lbs. 4 – 6 days
20 – 24 lbs. 5 – 7 days
Handling and prepping the raw turkey
Be sure to remove the neck and giblets from the inside of the turkey. Many beginners or first time turkey cooks, will leave them inside. Just a friendly reminder. I like to use the neck and sometimes the giblets, to make stock and gravy. BTW, if you are looking for an easy way to make your turkey stock ahead of time, check out my recipe. The recipe will save you time on the day you are roasting this turkey and you’ll be that much further ahead on your feast. Be sure to rinse the turkey inside and out to remove excess blood and liquids. Pat the turkey dry (all over the turkey). And let it sit out for a couple of hours to come to room temperature.
Season the bird as directed in the instructions and stuff the cavity with the herbs and veggies. Tie the legs together with a piece of twine. Tie a bow for easy removal. In recent years, Butterball turkeys come with an extra flap of skin that holds the turkey legs in place (genius idea) and you can just tuck the legs into that flap and omit the twine. Tuck in the back end and you can secure that flap of skin with toothpicks. The real reason for this is presentation. It just makes the bird look compact and neat when sitting on it’s platter.
Be sure to tuck the wings under the bird. The first time you do this, you may think they are going to break. They won’t. Just tuck them under the bird so the presentation is beautiful.
Always be sure to wash the sink, utensils and your hands thoroughly with soap and water after handling the turkey. You don’t want that raw juice hanging around and spreading germs.
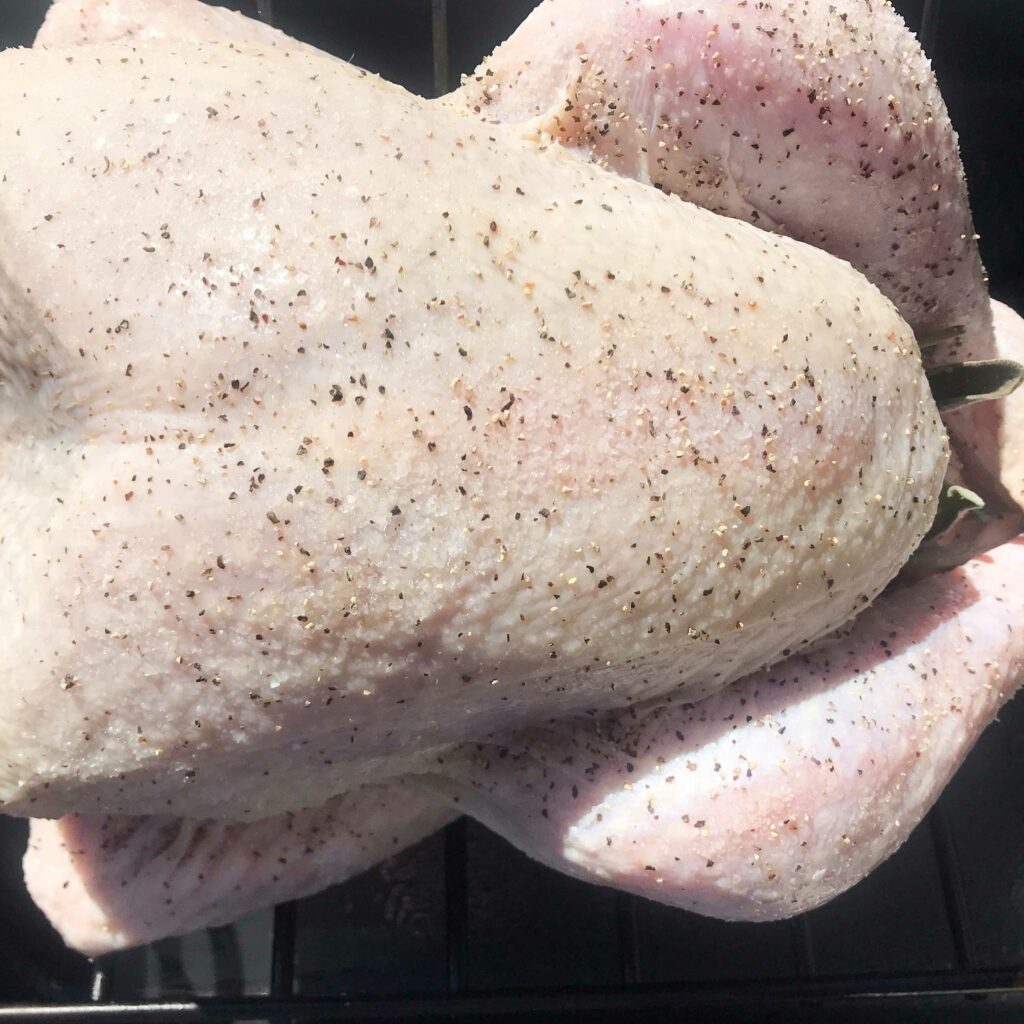
Be sure to spray the roasting pan rack with cooking spray to help the bird from sticking. (FYI: It is going to stick but spraying it will make it easier to remove the turkey from the roasting rack.) Note: I always use a rack inside the roasting pan. Some will recommend placing the turkey on top of cut veggies which is good but I like that the air is circulating around the entire turkey giving me more crispy bits of skin all over the turkey.
And there you have it. A simple, straightforward way to prep your turkey and roast it to perfection. The recipe is simple and easy to follow. Follow the steps for a perfect turkey every time. Enjoy.
Did you like this recipe? Be sure to try some of my other favorite poultry recipes.
Fig & Walnut Stuffed Turkey Breast
Roast Chicken with Lemon and Herbs
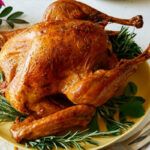
Roast Turkey
Nutritional information is only an estimate. The accuracy of the nutritional information for any recipe on this site is not guaranteed.
Ingredients
- 1 12-15 Lb. Fresh or frozen Whole Turkey thawed if using frozen
- 1 Cup of softened unsalted butter melted, plus 3 Tbsp. unsalted butter at room temperature
- 1 Bottle of Dry White Wine 750-ml or 3 1/2 Cups chicken or turkey stock or broth
- 1 Bunch of Fresh Sage
- 1 Bunch of Fresh Rosemary
- 1 Bunch of Fresh Thyme
- 1 Lemon cut in half
- 1/2 Onion cut into two wedges
- 2 Tsps. Kosher Salt
- 2 Tsps. Freshly Ground Black Pepper
- 1 Tsp. Garlic Powder
- 1 Tsp. Onion Powder
Instructions
- Rinse your turkey with cool water and be sure to remove the giblets from the inside of the turkey. (Save for your turkey stock.). Pat the turkey dry with paper towels and be let stand at room temperature for at least 2 hours. (This ensures the turkey will roast evenly and that the skin will get crispy.)
- Heat the oven to 450 degrees F. and place the oven rack on the lowest level. Combine the melted butter and white wine or stock in a bowl. Unfold a large piece of cheese cloth and shape into a rectangle to fit over the breast of the turkey. Soak the cheesecloth in the butter mixture for a minute or two.
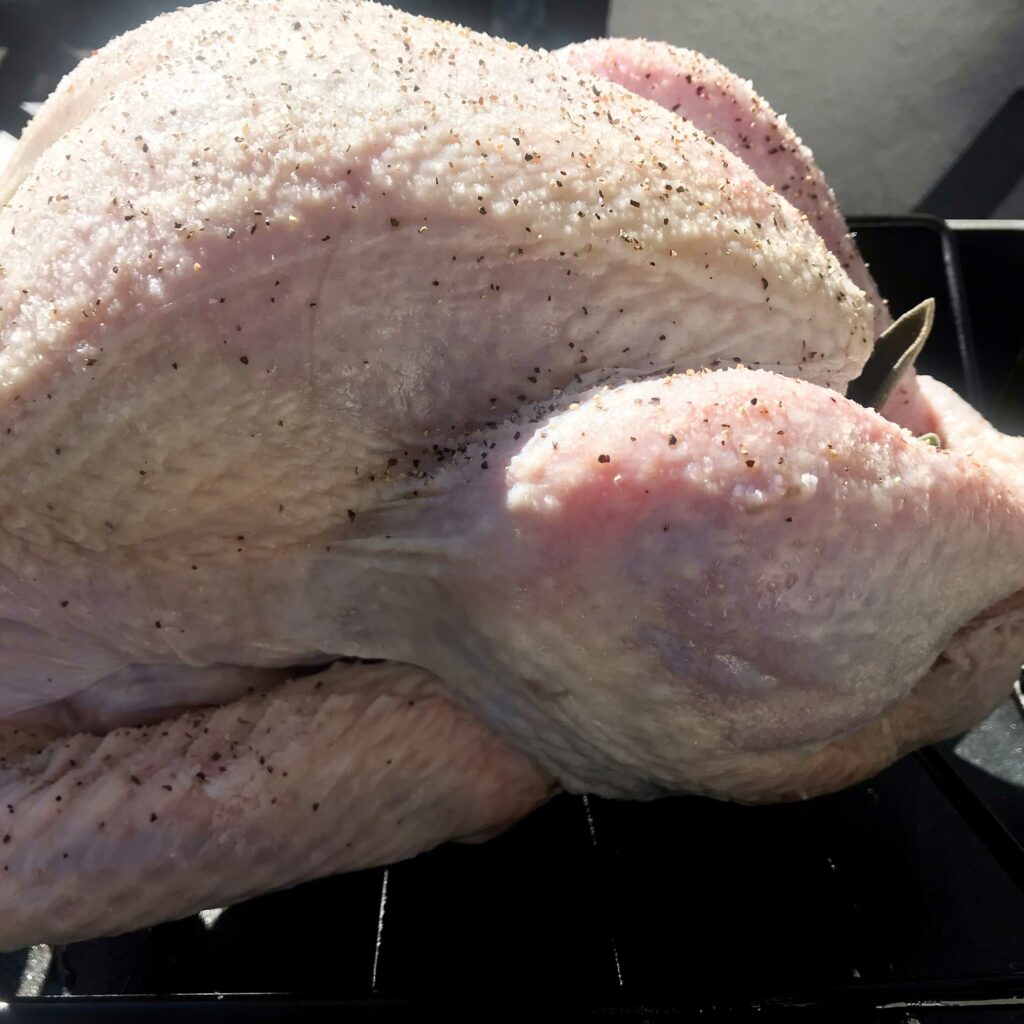
- Place your turkey, breast side up on a roasting rack in a heavy roasting pan. Fold the wings under the turkey. Sprinkle salt and pepper inside the turkey. Stuff the fresh herbs, lemon halves, and onion into the cavity. Tie the legs together with kitchen twine (I tie a bow so that it is easy to get it off when it comes out of the oven) OR if your turkey has the convenient turkey flap of skin just tuck the legs into that. (I find that often on Butterball turkeys.) Fold the neck flap under the turkey and secure with toothpicks. Rub the turkey with the remaining 3 Tbsp. of softened butter and sprinkle all over with the remaining salt, pepper, garlic powder and onion powder. (Season the bird generously. There is a lot of turkey and you want it all seasoned well.)
- Take the cheesecloth out of the butter mixture and gently squeeze out excess liquid but leave it very moist. Spread if over the turkey breast and about half way down the sides of the turkey. Put the roasting pan into the oven and roast for 30 minutes at that high temperature. Using the butter mixture in the bowl and a pastry brush, baste the areas covered with cheesecloth and all exposed areas of the turkey. Reduce over to 350 degrees F. and continue cooking for another 1-½ hours. Be sure to baste the bird every half hour with the wine and butter mixture (or stock and butter mixture). Watch your pan’s juices. If it gets full, spoon out some of the liquid. DON’T throw that out. It is great in gravy or added to my Easy Turkey Gravy for Two or Mushroom Turkey Gravy.
- You can remove the cheesecloth at the two-hour mark and toss it. Rotate your pan in the oven to ensure even roasting. Baste the bird with the pan juices or wine butter mixture if there is any left. You will continue cooking for about ½ – 1 hour more but you need to start checking the internal temperature.
- Insert an instant-read thermometer into the thickest part of the thigh. Don’t touch the bone. The temperature should be 180 degrees F. If the legs aren’t done yet, keep basting with warm pan juices and continue to roast for another ½ hour. Check thigh’s temperature again.
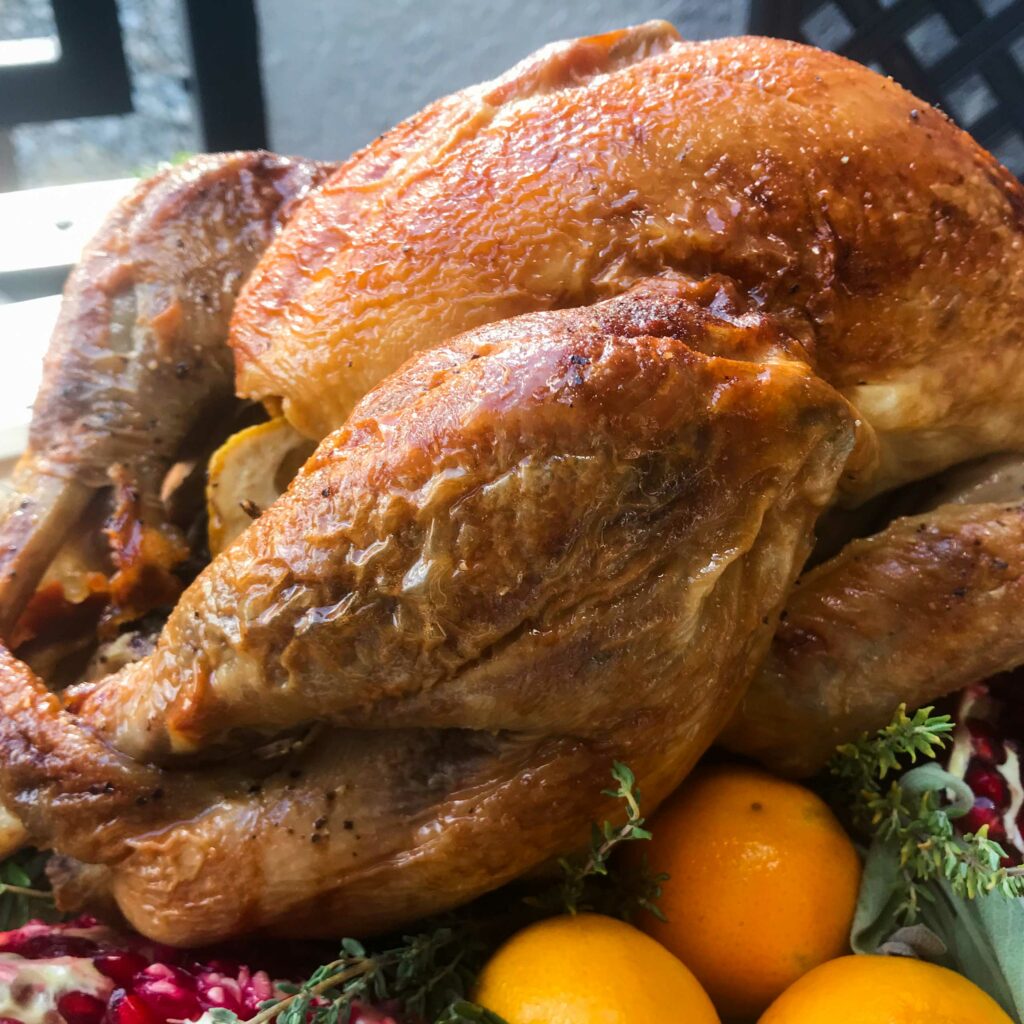
- When it reaches that perfect temperature and is golden brown, remove from the oven and let rest covered at least 30 minutes. Move to a cutting board or serving platter, carve and enjoy.

