
 Add Us As A Trusted Google Source
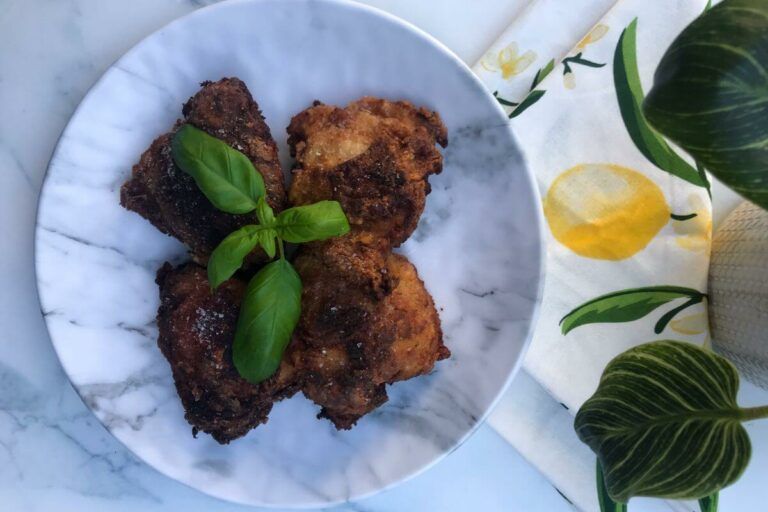


Fried Dill Pickle Chicken Thighs
Use pickle juice to marinate the chicken thighs for the juiciest and crispiest fried chicken thighs.
Nutritional information is only an estimate. The accuracy of the nutritional information for any recipe on this site is not guaranteed.
Ingredients
- 4 Chicken thighs, skin on and bone in
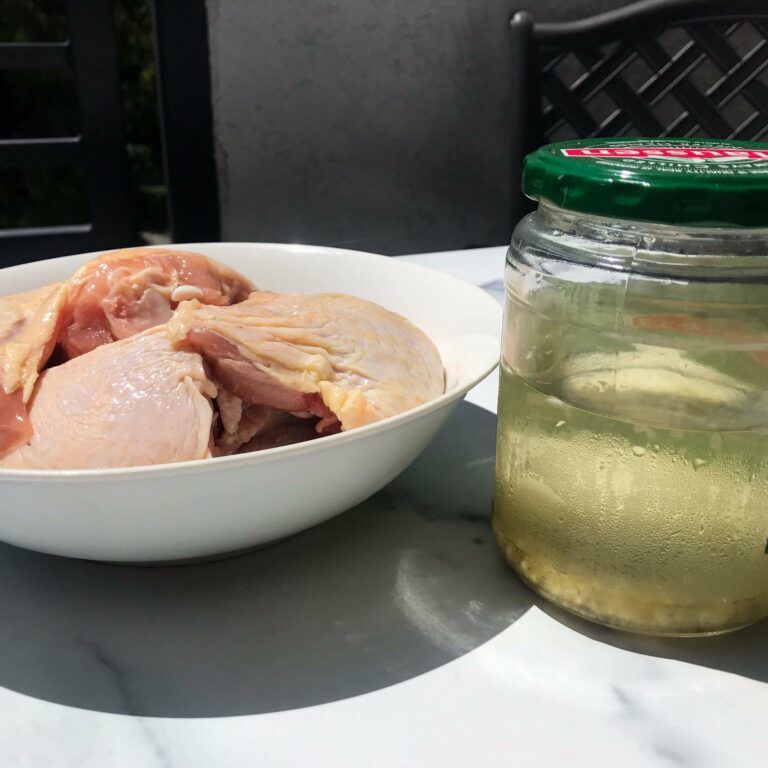
- 1 Cup Dill pickle juice (Claussen is my pickle juice of choice)
- 1 Cup Greek yogurt (FAGE is my fav!)
- 1 Tbsp. Sriracha
- 1 1/2 Cups All purpose flour
- 1 Tbsp. Paprika
- 1 Tsp. Onion Powder
- 1 Tsp. Garlic Powder
- Kosher Salt and Freshly ground black pepper
- Canola Oil for frying
Instructions
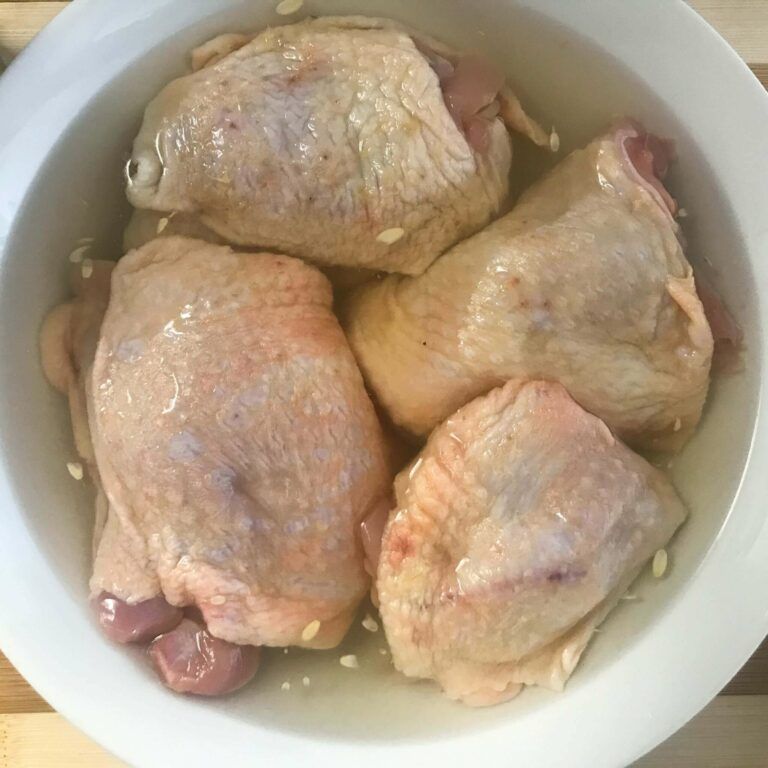
- Trim the chicken thighs of any excess fat and/or skin. Place in a bowl and cover with the pickle juice. Cover and put in the refrigerator overnight.
- Drain the pickle juice from the bowl with chicken. In a separate bowl mix the yogurt and Sriracha. Lightly salt and pepper the chicken thighs on all sides. Add to the yogurt mixture and coat the chicken on all sides. Let marinate in the fridge for a couple of hours. Remove from the fridge at least 1/2 hour before cooking.
- Heat the oil in a cast iron skillet. The oil should be no deeper than half way up the side of the skillet. Bring the oil to 400 degrees. (Check with a thermometer.)
- Meanwhile place the flour, paprika, onion powder, garlic powder, and large pinches of salt and pepper to a plate or shallow bowl. Mix well.
- Remove the chicken from the yogurt and wipe off excess. The chicken will still be coated with yogurt. Roll the chicken in the flour dredge and completely coat the thighs.
- Gently add to the skillet, skin side down and let cook until golden brown. 8-10 minutes. Gently flip the chicken over and cook until the second side is golden brown. Another 8 minutes.
- If the chicken thighs are large and the crust is really brown (you don’t want to overcook the crust), simply place on a rack set over a baking sheet and put into a 350 degree oven for another 10-15 minutes to cook all the way through.
- Place on a platter and sprinkle with salt. Enjoy.
Tried this recipe?Let us know how it was!


