My Curated Tastes is reader-supported. When you buy through links on our site, we may earn an affiliate commission at no extra cost to you. As an Amazon Associate I earn from qualifying purchases.
INGREDIENT SUBSTITUTIONS
You could easily substitute any mix of seeds and nuts in this recipe. Fruit and nut mixs you might want to try are apricots and almonds, walnuts and dried cranberries or pistachios and dried cherries. I’d just keep the quantities the same. For nuts, you could try almonds, walnuts, pistachios, cashews and macadamia nuts. Not a fan of fruit (Who are you people? lol), you could even do just a nut cracker. Some of the best nut crackers I’ve had use almonds and a mix of seeds. I might have to try that next.
For the seeds, why not try hemp seeds or black sesame seeds?
The same goes for the milk. Anything from buttermilk to skim milk to oat milk would work. I just thought the nutty flavor of the almond milk would work great with the nuts and seeds in the batter.
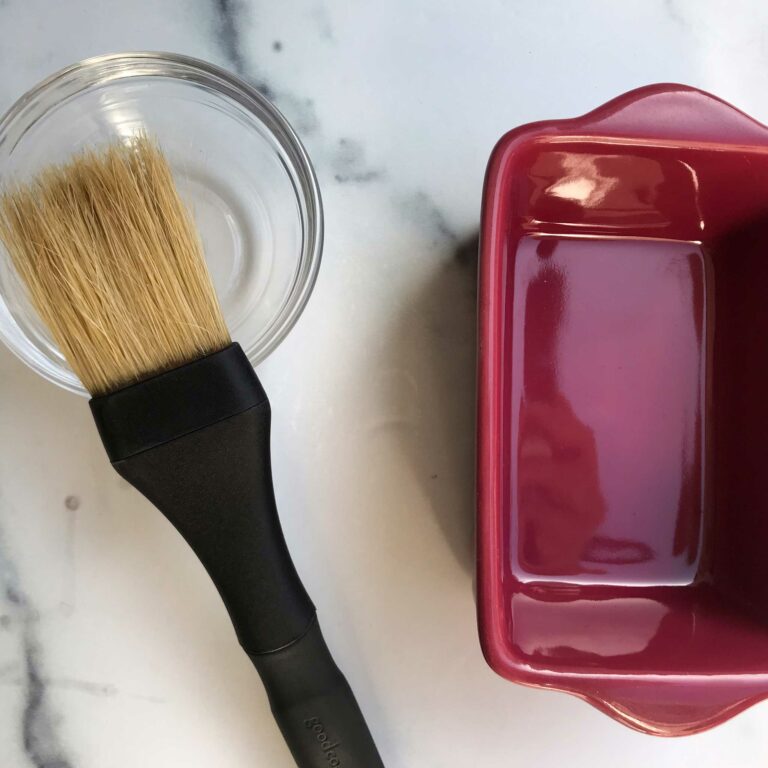
I used a rosemary infused olive oil from Patricia and Paul. I love that it emphasizes the fresh rosemary in the crackers. However, if you don’t have it, just just plain olive oil. You could also just spray the loaf pans rather than brushing them with olive oil. The choice is your.
One last note, when I was making this recipe, I had originally planned on using a cup of honey but realized I didn’t have enough. So, I substituted 1/4 cup of maple syrup for the missing 1/4 cup of honey. I must say, that worked out great to. It added the slightest maple taste. So, if you don’t have maple syrup, use all honey.
HOW TO MAKE THE BATTER
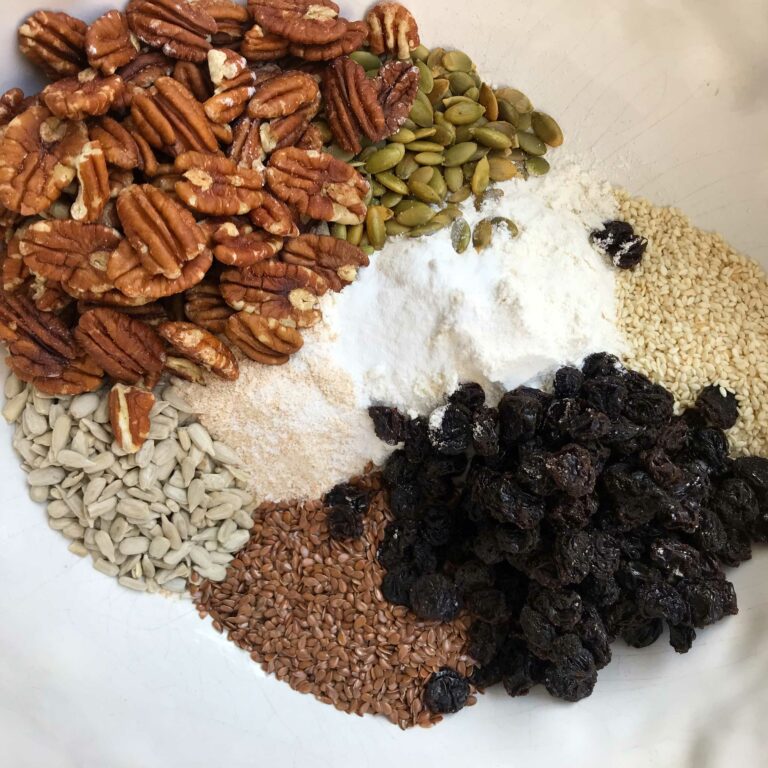
Making these raincoast crisp “imposters” is really easy. You are basically adding everything to a large bowl and mixing. I start by mixing all the dry ingredients.
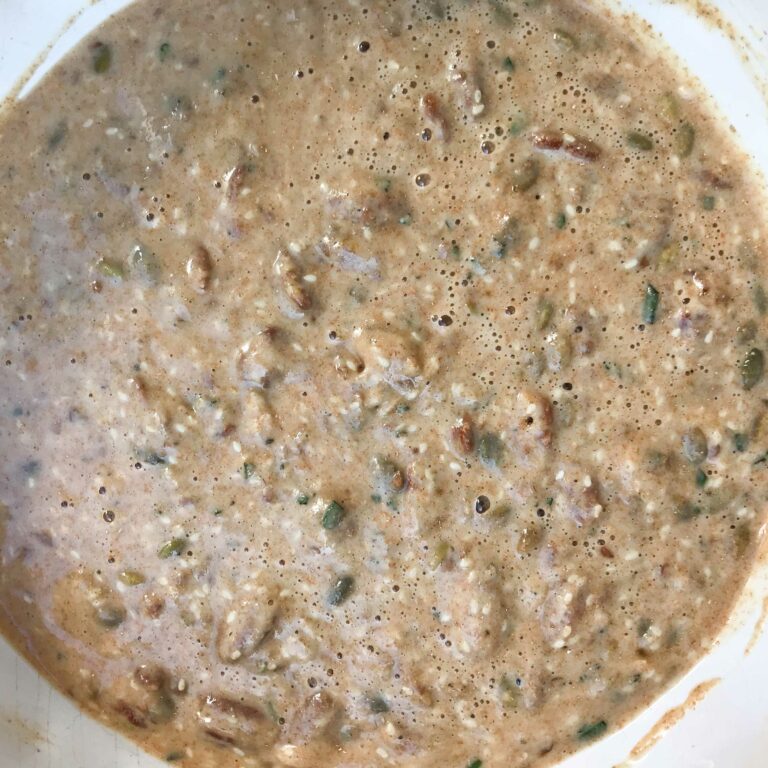
Then, I add all the wet ingredients and stir until combined. This is a very loose batter so don’t be alarmed. It will pour…that’s how loose it is.
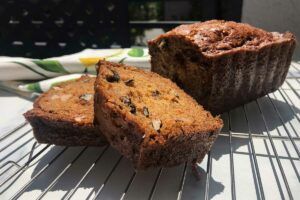
Once everything is mixed, you are ready to add to your mini loaf pans. You can use disposable tin foil pans or more traditional nonstick mini loaf pans (5.7 x 3 x 2). I also like to pick up cute little ceramic mini loaf pans when I’m gifting mini loafs or in this case, giving a sample of my crackers to a neighbor of friend. After the crackers are baked twice and cooled, I’ll pack up some in the mini ceramic pan, wrap in cellophane and add a bow. Neighbors love that around the holidays.
TIPS FOR MAKING THE PERFECT CRACKERS-CRISPS
. First, be sure you test the loaves of crackers with a toothpick to make sure they are cooked through the first time. You don’t want any batter to be sticking to the toothpick when inserted into the middle of the loaf. If the toothpick comes out clean, the loaf is ready and can be removed from the oven to cool.
If there are crumbs or wet batter on the toothpick, let the loaves bake another 4-5 minutes.
. Let the loaves cool for about 10 minutes in their pans. Then, use a small knife to loosen the edges from the the pan and remove the loaf to a cooling rack. Let the loaves sit until completely cooled. About 1/2 hour.
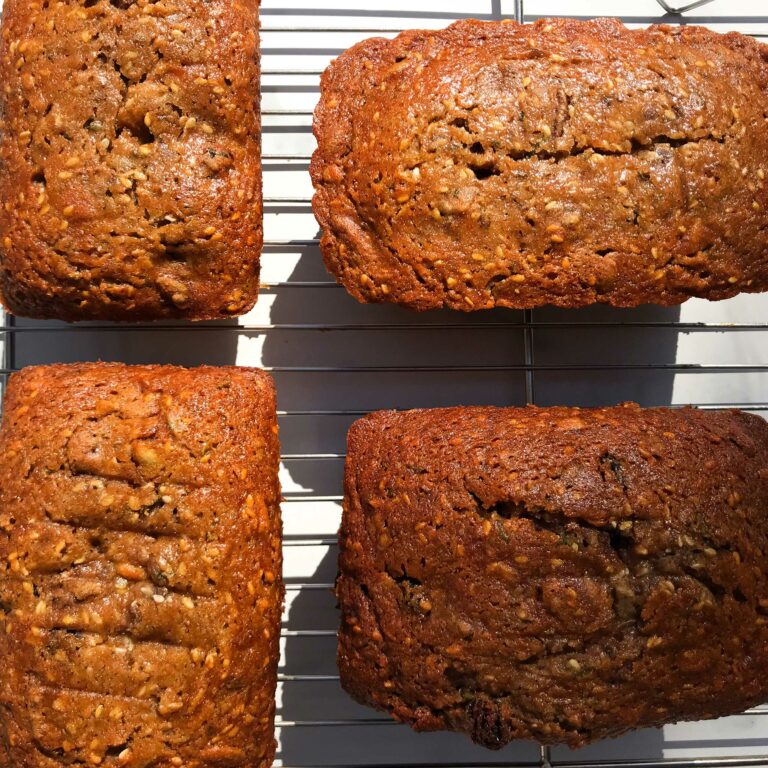
. Once they are cooled, wrap in foil or plastic wrap completely. Pop in the freezer for about two hours. The goal here is to get them semi-frozen. You don’t want them to be completely frozen or they will be too hard to cut. If they aren’t semi-frozen, it makes them hard to cut thin slices. So, aim for 2 hours.
NOTE: If you go over 2 hours and it is too hard to slice, let them sit on the kitchen counter for about 20-30 minutes to slightly thaw and then slice.
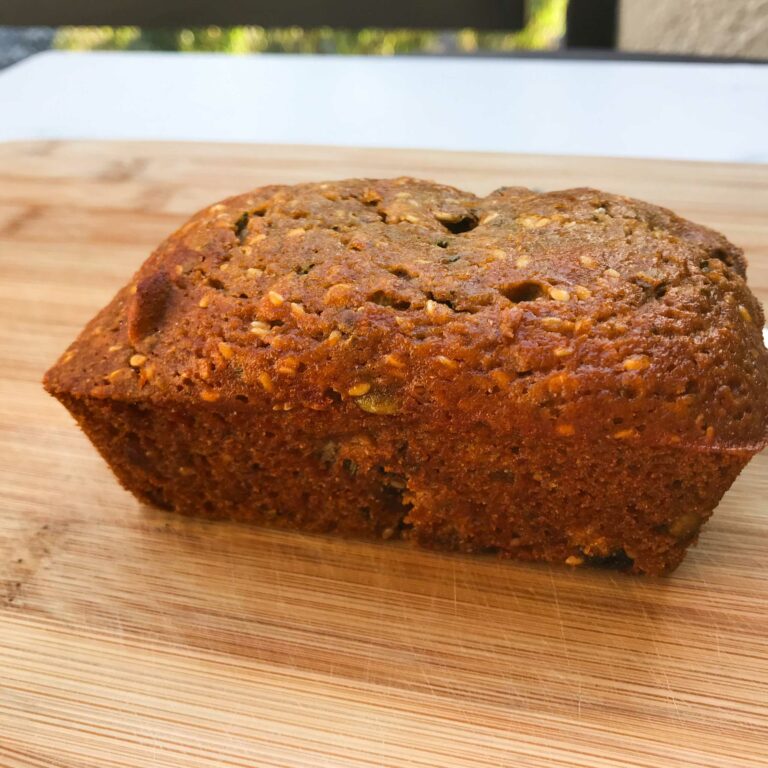
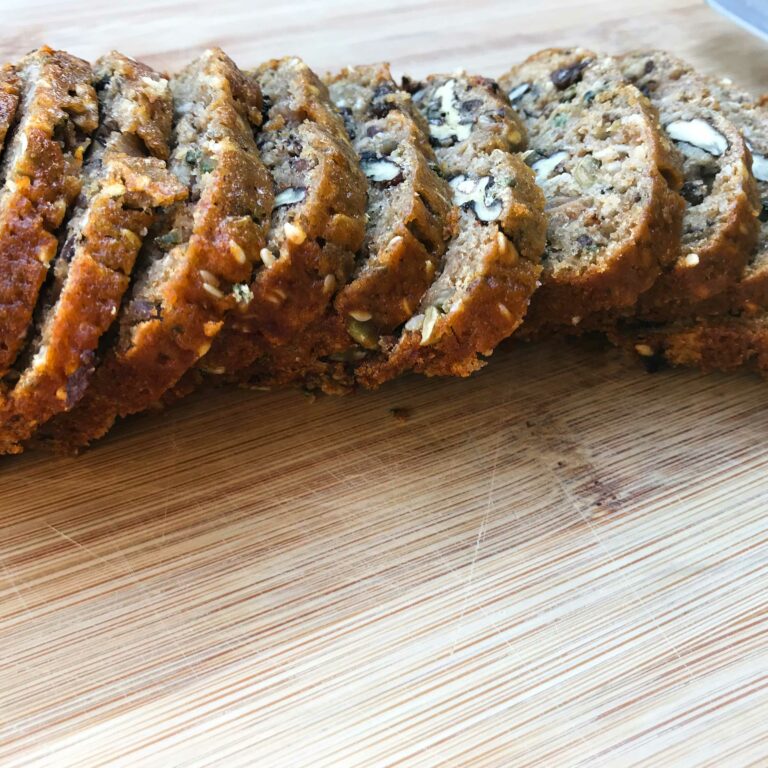
. When it is time to slice, use your serrated knife (bread knife). That is the right tool for the job. Take your time and thinly slice the loaves into cracker sized slices. Typically, I’ll get about 25 slices per loaf (more or less).
. You are then going to lay them out on a baking sheet to re-bake. This is a process similar to when making biscotti cookies. You want to dry out the crackers and get them really crispy. Because they are thin, watch them. In my 300 degree F. oven, I go about 5 minutes on one side, then flip and go another 5 minutes on the second side.
. Let them cool completely and store in an airtight container until ready to serve.
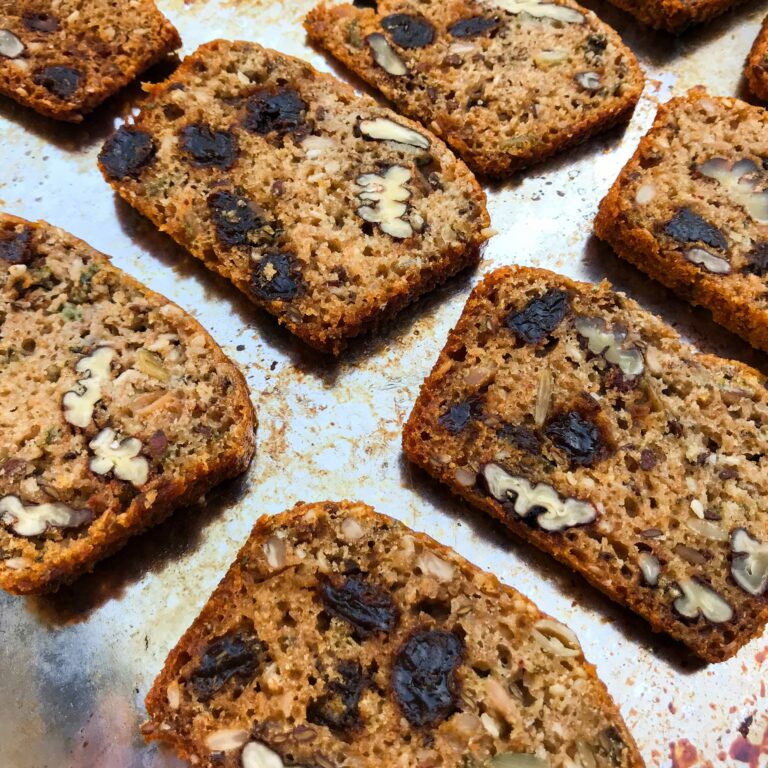
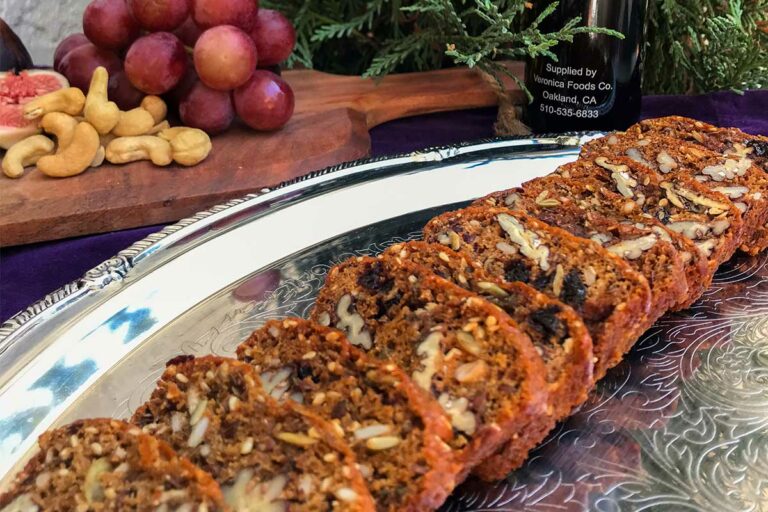
And there you have it, the perfect cracker for your cheeseboard. Looking for other unique ideas for your cheeseboard? Try some of my favorites:
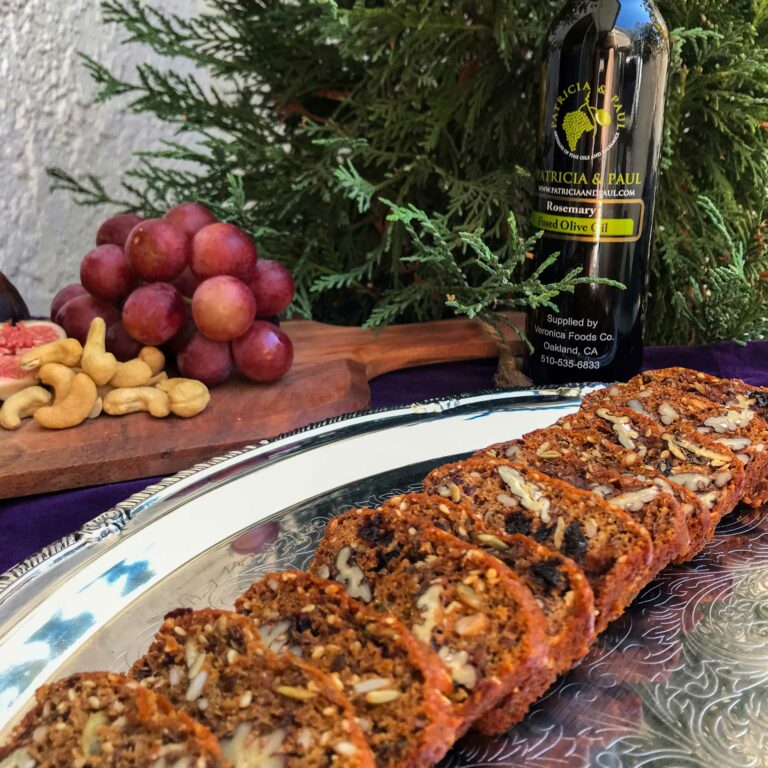
Rosemary Raisin Pecan Crackers
Nutritional information is only an estimate. The accuracy of the nutritional information for any recipe on this site is not guaranteed.
Ingredients
- 1 Cup Whole wheat flour
- 1 Cup Bread flour
- 1/2 Tsp. Kosher salt
- 2 Tbsp. Fresh Rosemary very finely chopped
- 2 Tsp. Baking Soda baking soda
- 1/4 Cup Flax seeds
- 1/4 Cup Pumpkin seeds
- 1/4 Cup Sesame seeds
- 1/4 Cup Sunflower seeds
- 1 Cup Raisins
- 1 Cup Pecans
- 2 Cups Unsweetened almond milk
- 2 Tbsp. Patricia and Paul Rosemary olive oil
- 3/4 Cup Honey
- 1/4 Cup Pure Maple syrup
Instructions
- Preheat oven to 350 degrees F. Lightly brush the 4 mini loaf pans (5 1/2 x 3) with some of the rosemary olive oil (about a tablespoon for all four pans).
- Mix all the ingredients EXCEPT for the milk, honey, maple syrup and oil, in a large bowl.
- Add the almond milk, one tablespoon of rosemary oil (OR regular olive oil) maple syrup and honey to the bowl and stir until everything is well combined. (This will be a very loose batter. It will not be thick.)
- Evenly distribute the mix between the 4 loaf pans. Bake for about 30 minutes, until golden brown and a toothpick inserted in the center comes out clean. If the toothpick has batter or crumbs on it, let bake another 5 minutes.
- Remove from the oven and let them cool in the pans for 10 minutes. Run a knife around the edges to loosen from the pans then remove and let cool completely on racks.
- Once completely cool, wrap the loaves in foil or plastic wrap and pop in the freezer for a couple of hours. You want those loaves firm and ready for slicing.
- Preheat the oven to 300 degrees F.
- Using a serrated knife, slice the partially frozen loaves as thinly as you can – remember, these are crackers. I got about 20 crisps/crackers from each loaf.
- Put the slices in a single layer on a dry baking sheet and bake for 15 minutes on one side, then gently flip them over and bake about 15 minutes more. Watch carefully to be sure they don’t burn. This second bake is to dry them out and create that crispy, cracker texture.
- Remove from the oven and let them cool on the baking sheet or put them on a rack to cool faster. Pack in an air tight container until ready to use. Serve with your favorite cheese and dips on your cheese boards. Enjoy.

