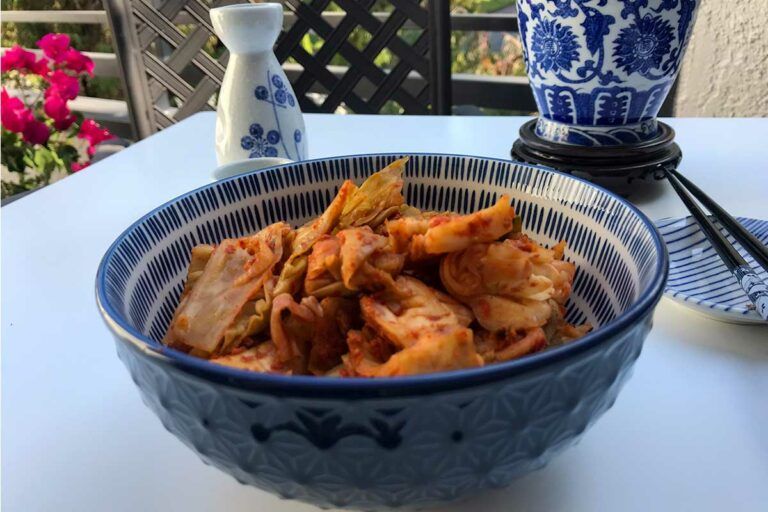
While making my easy kimchi takes time, it couldn’t be easier. Using the Shawhan Farms Kimchi Starter saved a ton of time and the flavor was amazing. Be sure to make this and try it with my Grilled Korean Shortribs or as a side with Korean Beef Bulgogi Wraps. So good.
If you aren’t familiar with kimchi, here are some frequently asked questions and answers about it.
Yes, kimchi is known for its spiciness. The primary source of heat in kimchi comes from the use of chili pepper flakes or gochugaru (a spicy condiment used in a lot of Korean dishes). The amount of spiciness can vary depending on the recipe and personal preference. Some kimchi varieties are milder, while others can be quite fiery. However, not all kimchi is extremely spicy, and there are non-spicy versions available as well. Taste the Shawhan spice before adding to your vegetables. Adjust the amount you use based on your tolerance and preference for heat. I find it to be the perfect balance of heat and flavor – you decide.
Kimchi has a long shelf life due to the fermentation process. When properly stored, it can last for several months in the refrigerator. The flavor and texture of kimchi may change over time, becoming more sour and softer as it continues to ferment. It’s important to keep the kimchi tightly sealed to prevent exposure to air, which can speed up the fermentation process. If you prefer a milder taste, consuming kimchi within the first few weeks as the taste gets stronger and spicier the longer it sits.
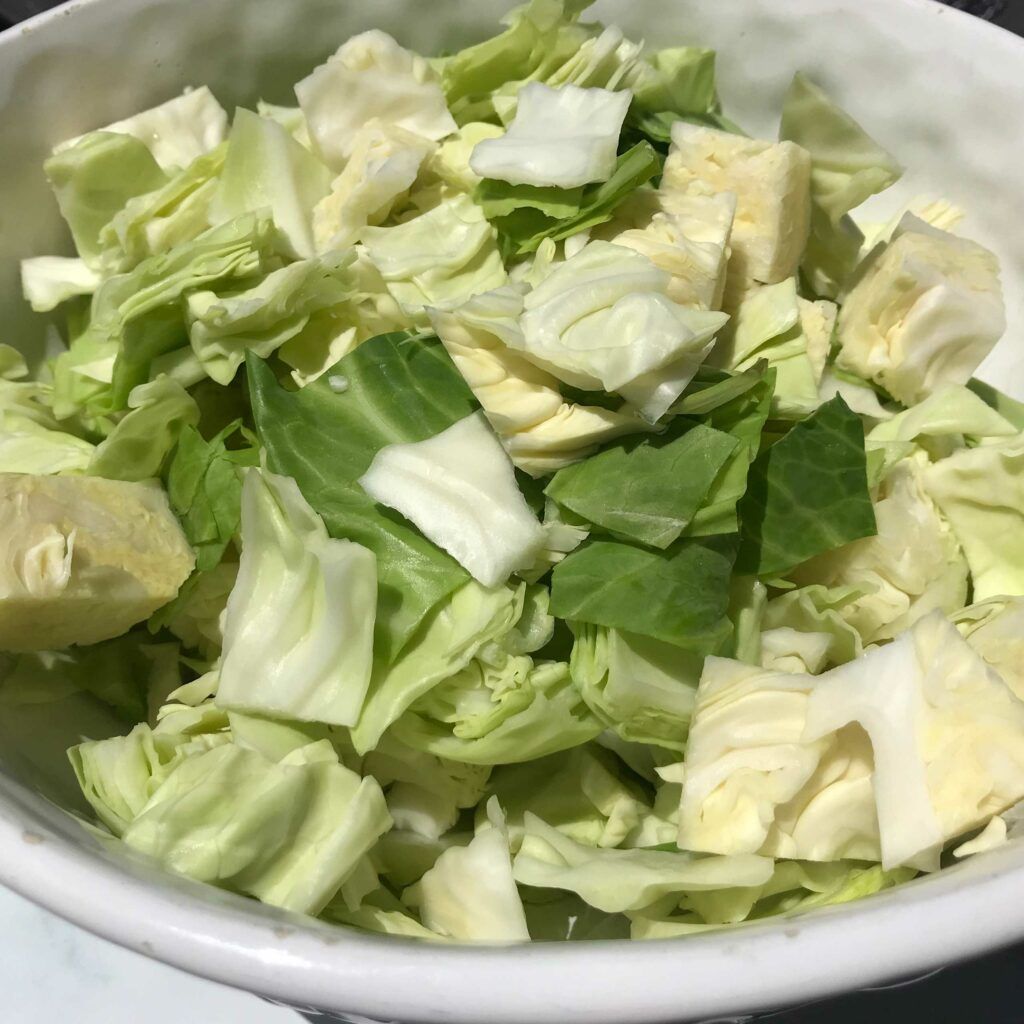
Next, you want to drain the cabbage in a colander and rinse really well under cold water removing all the excess salt. Let it sit for 20 minutes to drain. Then gently squeeze out any excess water and add to a clean bowl. Add your onions and radish slices and toss to mix.
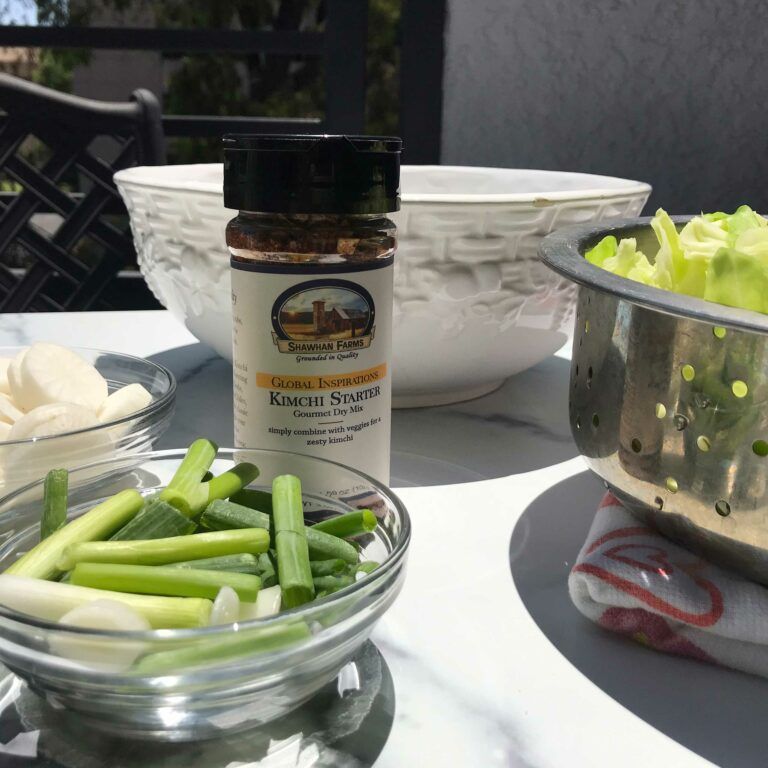
Next, add the Shawhan Farms Kimchi Starter Seasoning. Wear gloves. You don’t want that spice staining your hands and nails. Work the spice into all the veggies tossing and coating each piece of vegetables with the seasoning. Once done, add the veggies to a clean, one-quart mason jar.
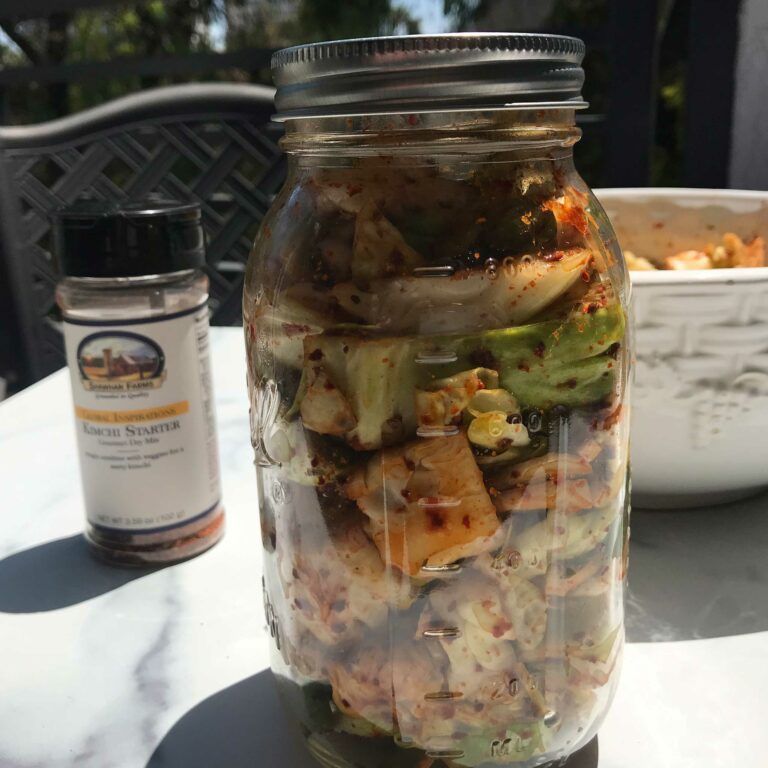
Press down on the veggies which will release the brine liquid. Press until that liquid covers the veggies. (Don’t worry if there isn’t a lot of liquid or if it doesn’t cover the veggies. Just press down to release as much as you can.) Leave about an inch of space between the brine covered veggies and the lid. This lets the fermentation have room to bubble and gives the fermentation gases a place to go.
Place the jar in a bowl in case there is any leakage and keep in a cool dry place on your kitchen counter away from direct sunlight. I also keep it away from the stove (You don’t want that heat near the jar.) You are going to let it sit for one to four days depending on how you like the taste.
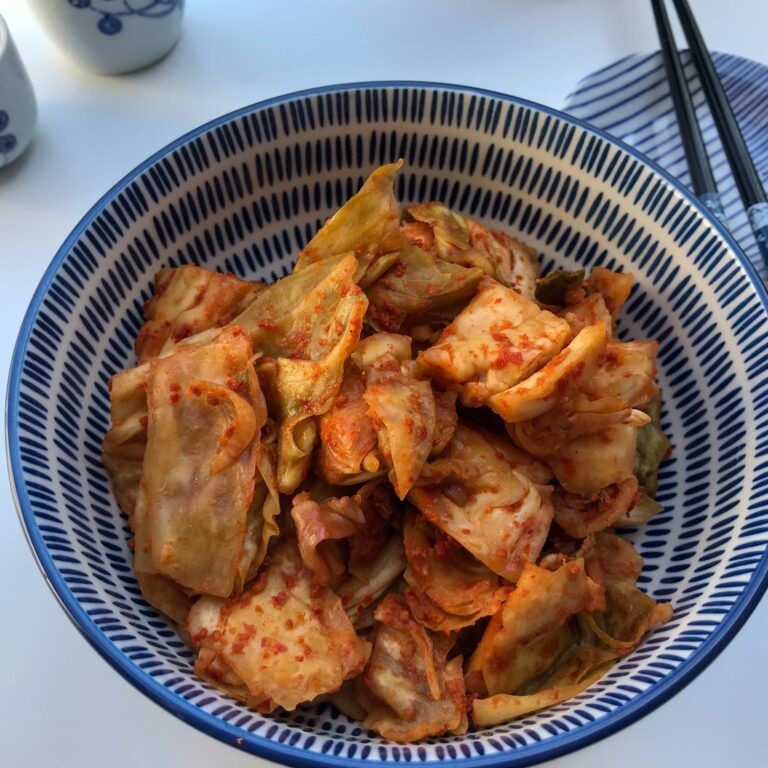
You will check the jar once every day. Using a wooden spoon, press down on the kimchi to make sure it is submerged in the liquid. Taste it each day. When it is to your liking, place in the fridge. Note, you can eat it right away but it gets better the longer it sits. The recommended time is 1 – 2 weeks (if you can wait that long). This spicy and delicious condiment might become one of your favorites. Try it with cooked meats as a side dish. Did you like this recipe? Looking for other fun side dishes? Be sure to try some of these:

Easy Kimchi
Nutritional information is only an estimate. The accuracy of the nutritional information for any recipe on this site is not guaranteed.
Ingredients
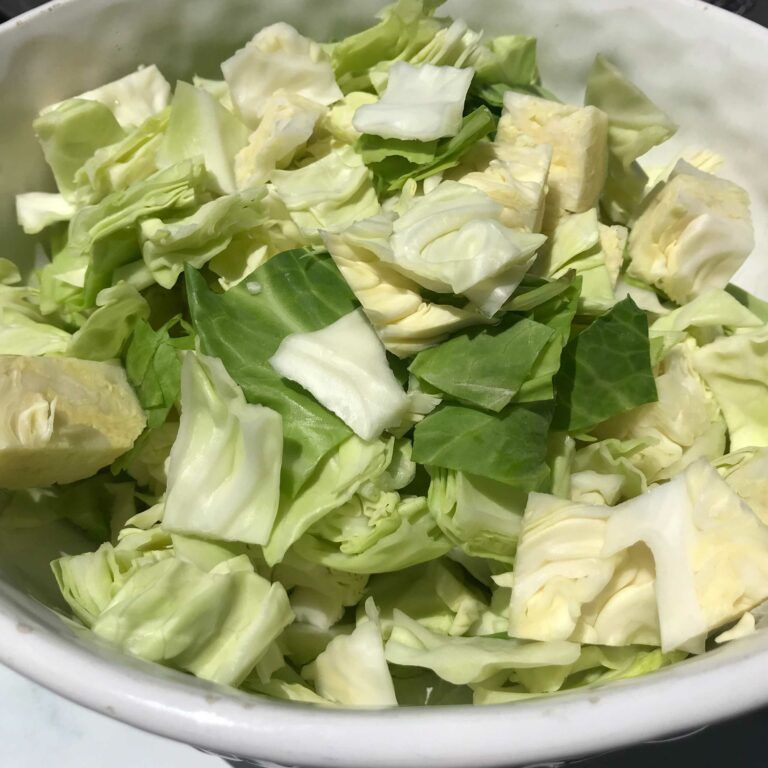
- 1 Small Head Cabbage, chopped into large chunks
- 4 Green Onions, cut into one inch pieces
- 1 Daikon Radish, peeled and sliced thin
- 1/4 Cup Kosher Salt
- 4 Tbsp. Shawhan Farms Kimchi Starter
- Distilled bottled water
Instructions
- Place the cut up cabbage in a large bowl. Sprinkle with the kosher salt and work the salt into the cabbage until it just starts to soften. (Just a couple of minutes.)
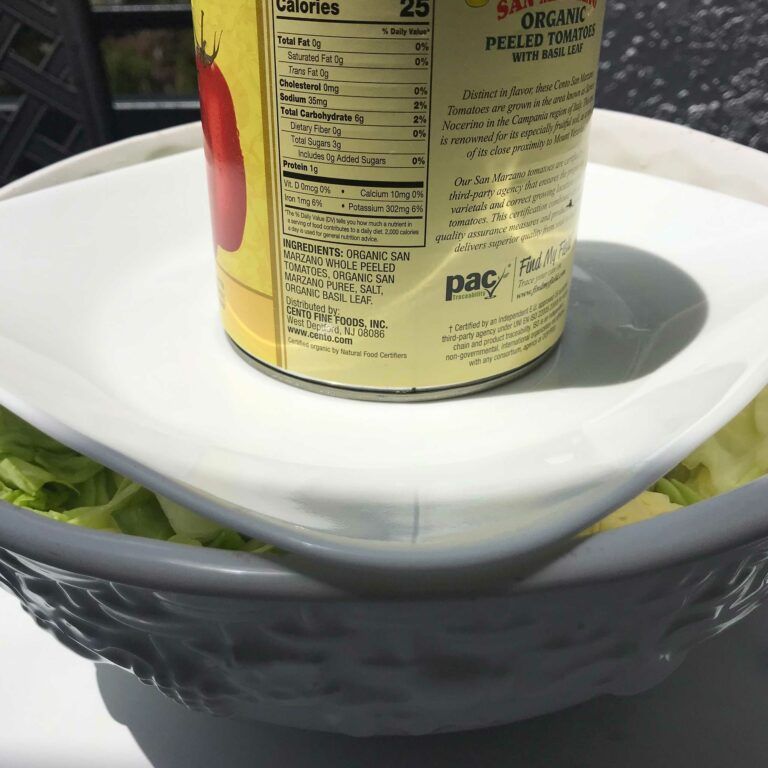
- Cover the cabbage with the bottled water and place a plate on top on the cabbage with a heavy can on top. (This is to weigh down the cabbage.) Let it sit on the kitchen counter for about an hour.
- Drain the cabbage in a large colander and rinse under running cold water several times to remove excess salt. Put to the side and let drain for about 20 – 30 minutes.
- Squeeze out any excess water and add the radish slices and onions to the cabbage and toss gently to mix.
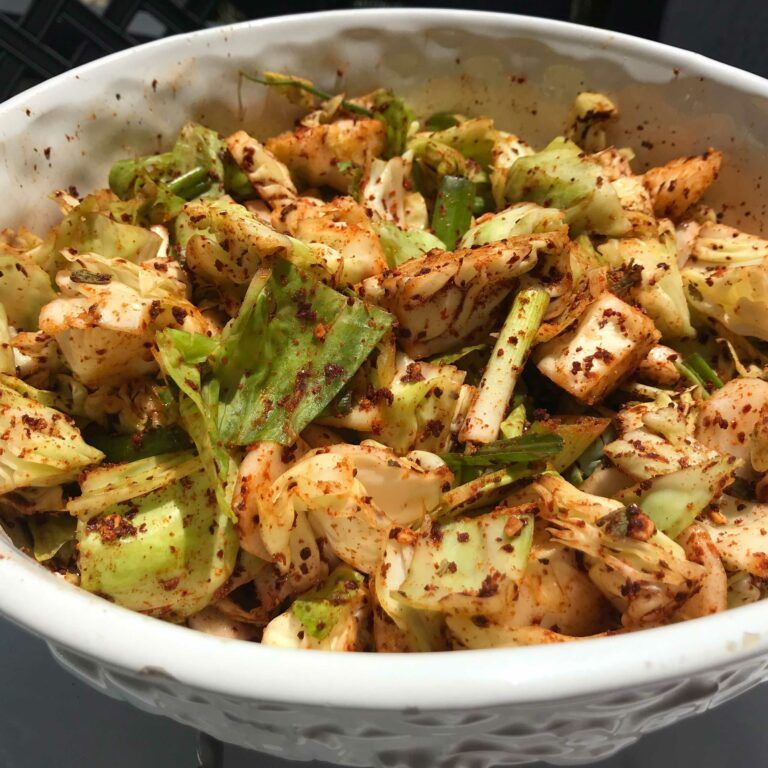
- Add the kimchi starter seasoning and using your hands (I recommend you wear gloves to prevent staining.) start to work the seasoning into the vegetables until every veggie is coated in the spice mixture.
- Add the mixture to a one-quart mason jar with a lid. Press down on the kimchi until the liquid in the veggies rises to cover up the veggies. This brine will be released when you are pressing on the vegetables. Leave about one inch of space between the liquid at top and the lid. Put the lid on. Note that you may not get a lot of liquid. Don’t worry. During the fermentation process, some liquid will be produced.
- Now it is time to let the kimchi ferment. Place the sealed jar on the kitchen counter (room temperature) away from direct sunlight and let it sit for one to four days. NOTE: You’ll see bubbles in the jar – that’s why you left the space a the top of the veggies. If you don’t see a lot of liquid, don’t worry. When you open the jar, you should hear gas escape. That’s how you’ll know fermentation is happening.
- You are going to want to check the kimchi once a day. Open the jar and press down on the ingredients with a wooden spoon to keep everything under the liquid. Turn the jar upside down once a day to distribute any liquids. Opening the jar will help release some gases during the fermentation process too. Taste a little each day. You can decide between days 1 and 4, when you like the taste. When it tastes right to your liking, you can refrigerate the kimchi.
- The kimchi can be eaten right away or you can let it sit in the fridge for a week or more. It just gets better with time. Kimchi can be kept in the fridge for up to two months.

