My Curated Tastes is reader-supported. When you buy through links on our site, we may earn an affiliate commission at no extra cost to you. As an Amazon Associate I earn from qualifying purchases.
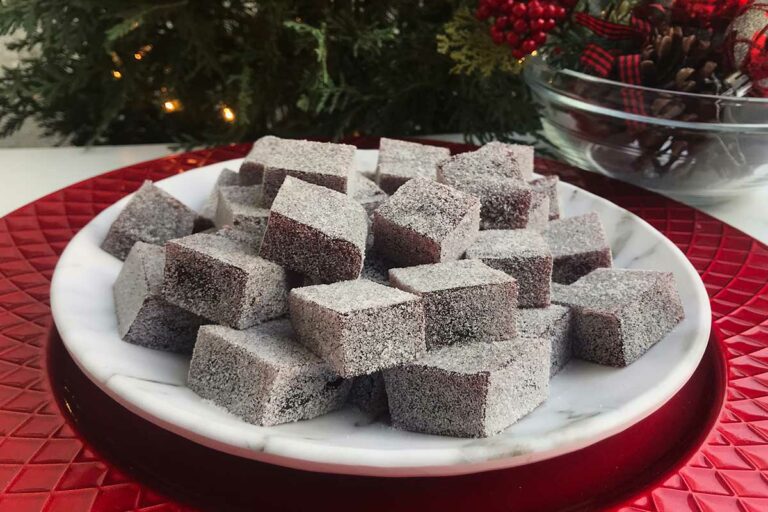
These cherry jellies are an easy candy to make and are perfect for gift giving. The recipe makes a lot and you can change the flavors by changing the frozen fruit you use. I used cherries in this recipe which were perfect for Valentine’s Day and Christmas gift giving, but I’ve also made them with strawberries and cranberries. Raspberry jellies are another favorite around here so keep them in mind for another time.
You will be using a couple of ingredients that might not be in your pantry. Pectin and citric acid are needed in this recipe to get the texture right, and to preserve the candy. While they may be unfamiliar to you, they are easy to find online or in some stores in the baking aisle. I’ve given you links to where you can purchase those. The good news is that you are going to love making these and will be making them often, so go ahead and invest a few dollars in those ingredients.
With that said, this is a pretty easy candy recipe. You don’t need a thermometer and will only do a simple test (outlined in the recipe) to see if the jelly is ready.
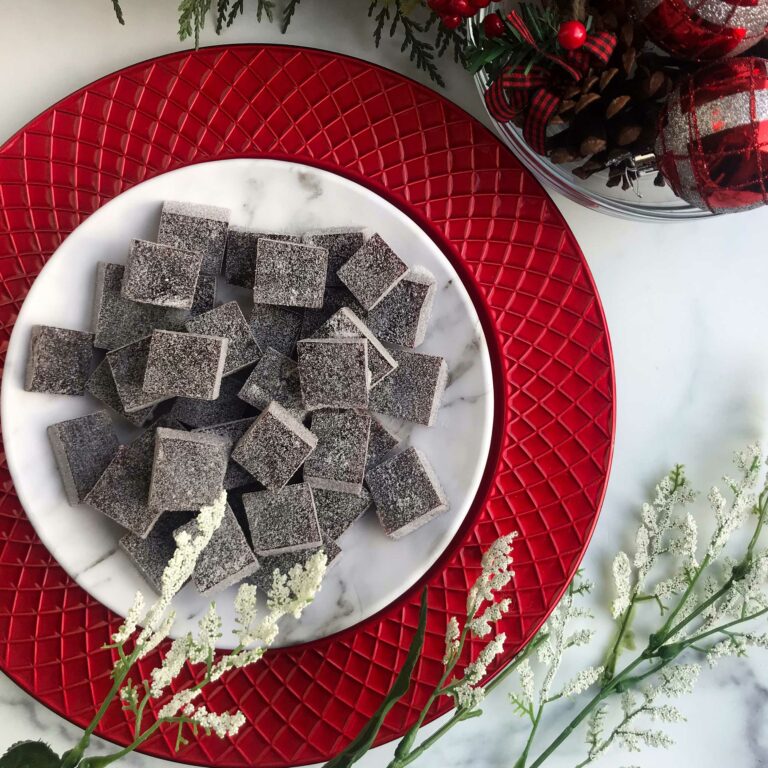
You will let this set overnight to let the candies solidify. They will be soft and jelly like but firmer than jello. Once you cut up the cherry jellies using a knife or your favorite cookie cutters, it is just a matter of rolling them in the sugar and citric acid mix to coat. They will shimmer and look so pretty. You can serve them on a platter, or in a coup glass at parties. I love boxing these up as gifts around the holidays too.
For different flavor ideas, do consider these:
Strawberry Jellies
Cranberry Jellies
Raspberry Jellies
Blackberry Jellies
Blueberry Jellies
And for a slightly different way of finishing this candy, rather than rolling in the sugar, you can dip them in melted chocolate (be sure the chocolate has cooled but not hardened) so you have chocolate covered jellies. I used to love those as a kid. Joyva made these chocolate covered jelly rings that we’d have on special occasions. So good.
To get started on this recipe, spray the bottom and sides of an 8×8 inch metal baking pan with the cooking spray. (you can also use a disposal foil pan) Cut a strip of parchment paper to go across two sides of the pan and the bottom of the pan. There should be paper hanging over the two sides of the pan so you can easily remove when jellies are ready. Lightly spray the parchment paper too.
To make cherry jellies, in a medium saucepan, combine the cherries and 1/2 cup of water. Bring the mixture to a boil. Reduce the heat to low and simmer the the cherries are soft. Simmer about 5 minutes. Let the mixture cool for about 5 minutes off the heat.
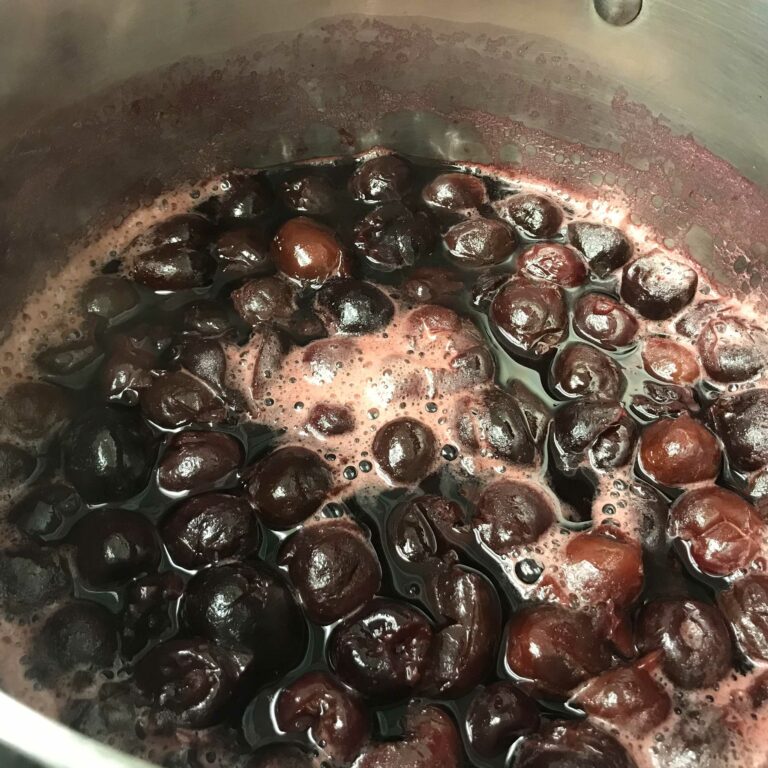
Pour the mixture into a blender and puree until smooth. Pour the mixture through a fine-mesh strainer that is sitting over a large measuring cup or bowl. Press down on the fruit to extract as much juice as possible. You should get about 1 1/4 cups. If short of the 1 1 /4 cups, add apple cider to make up the difference.
Meanwhile, in a small bowl mix 3 tablespoons of the sugar with the pectin. Mix to combine.
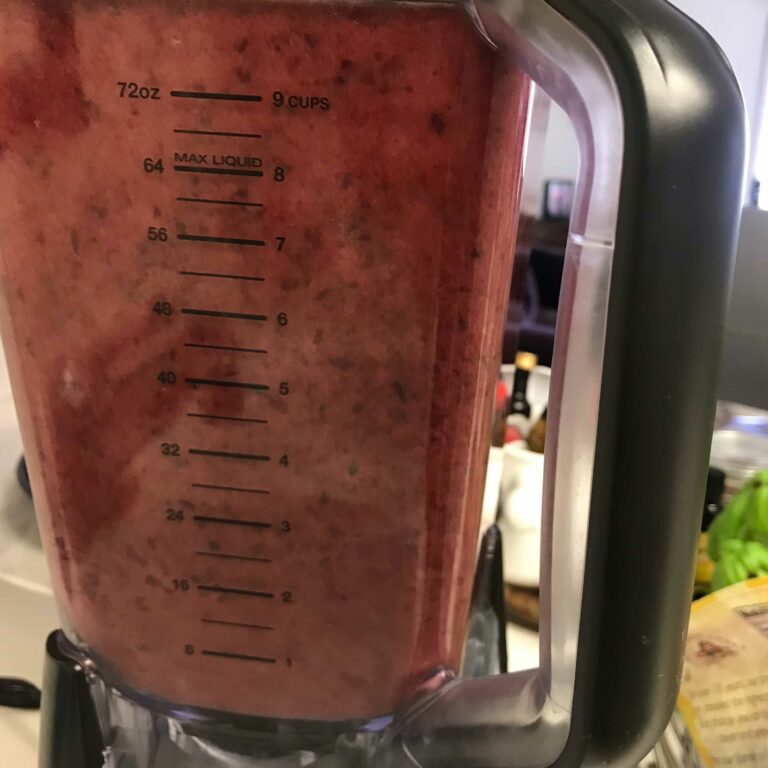
In a medium saucepan, mix the pectin mixture, fruit puree, 1/2 cup of cider, honey and remaining 1 3/4 cups plus two tablespoons of sugar. Bring to a boil over medium-high heat and cook for 10 minutes. Whisk constantly. To test if jelly is the right consistency, spoon about a 1/4 teaspoon of the jelly mix on a plate. If you are able to peel off the drop of jelly in one piece after it has cooled for 30 seconds, it is ready. If you can’t peel it off, let it cook for another minute or so. Test again.
Once ready, using a spatula, scrape the jelly into the prepared baking pan. Let it sit at room temperature overnight.
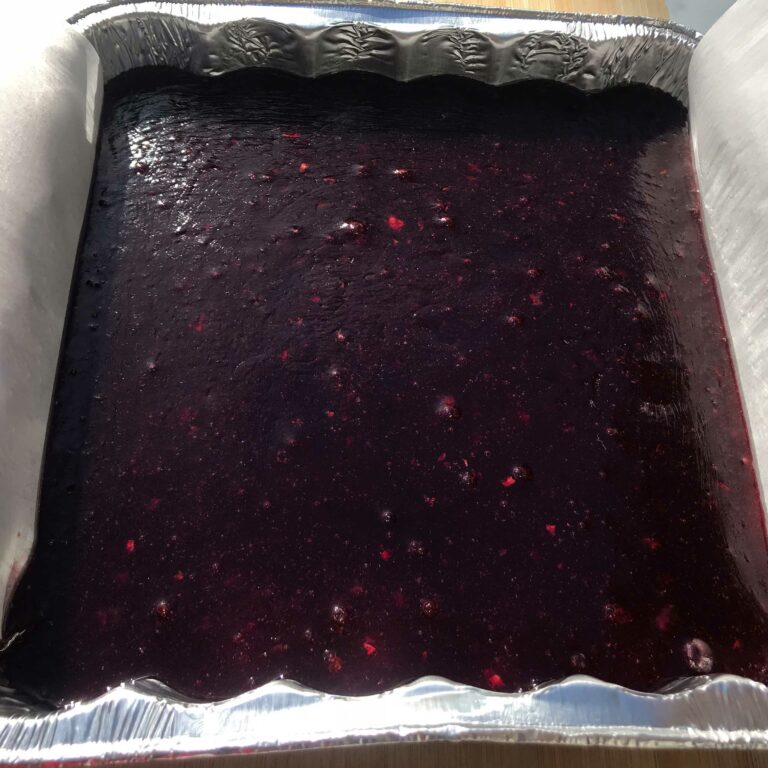
Lift the jelly out of the pan using the “handles” created by the overhanging parchment paper. Turn it onto a cutting board and remove the parchment paper.
Cut the jelly into small squares or use small cookie cutters to get different shapes
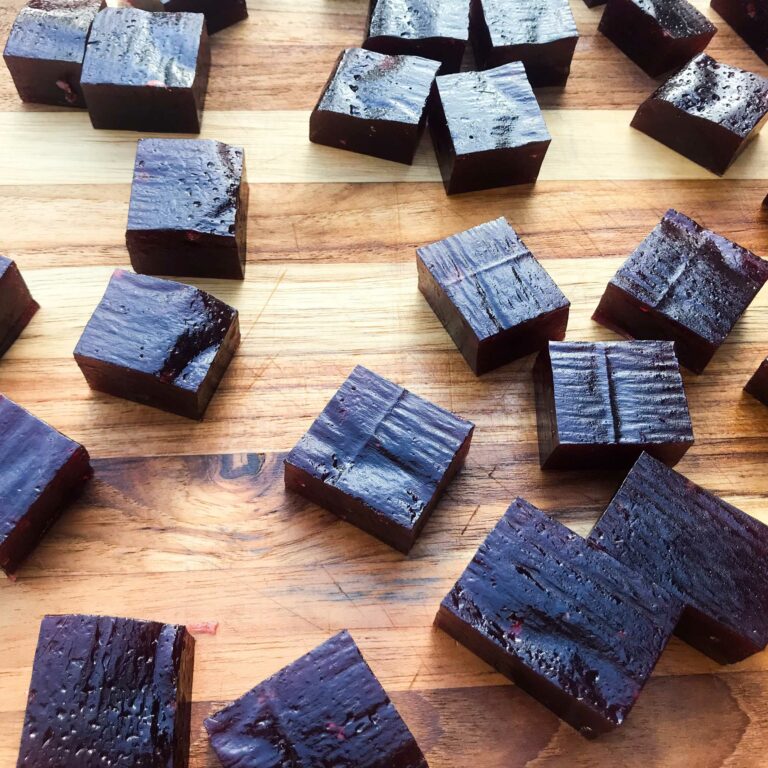
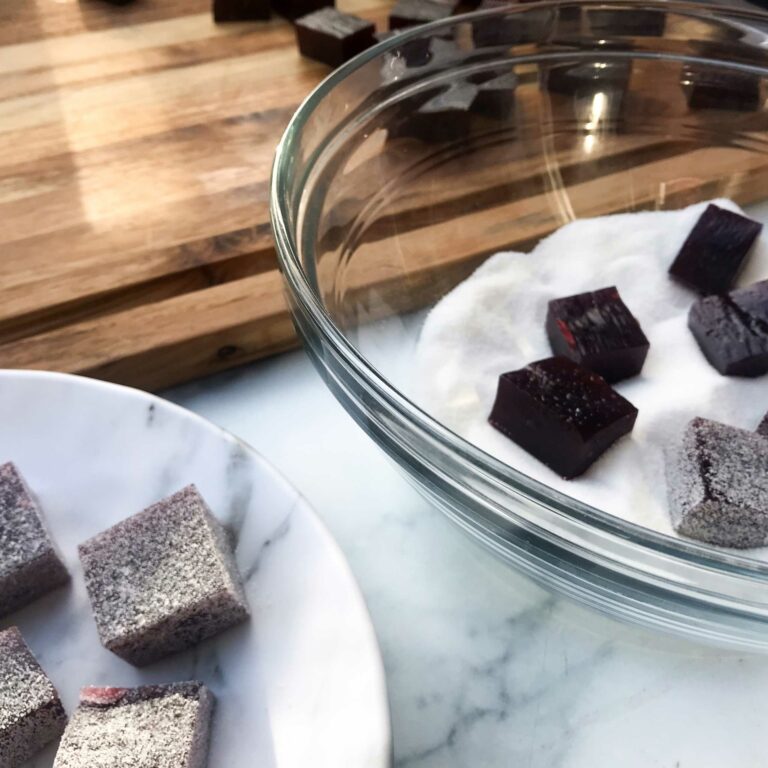
In a large bowl, mix the 1/2 cup of sugar and the 1/2 teaspoon of citric acid. Put a couple of jellies in the sugar mix at a time. Coat in the sugar mixture, and place on a plate or parchment lined baking sheet.
You can store these in a covered container for up to a week or wrap and gift. Enjoy!
If you like this recipe and want to try your hand at other easy candy recipes, check these out:
Dave’s Salted Black Licorice Caramels
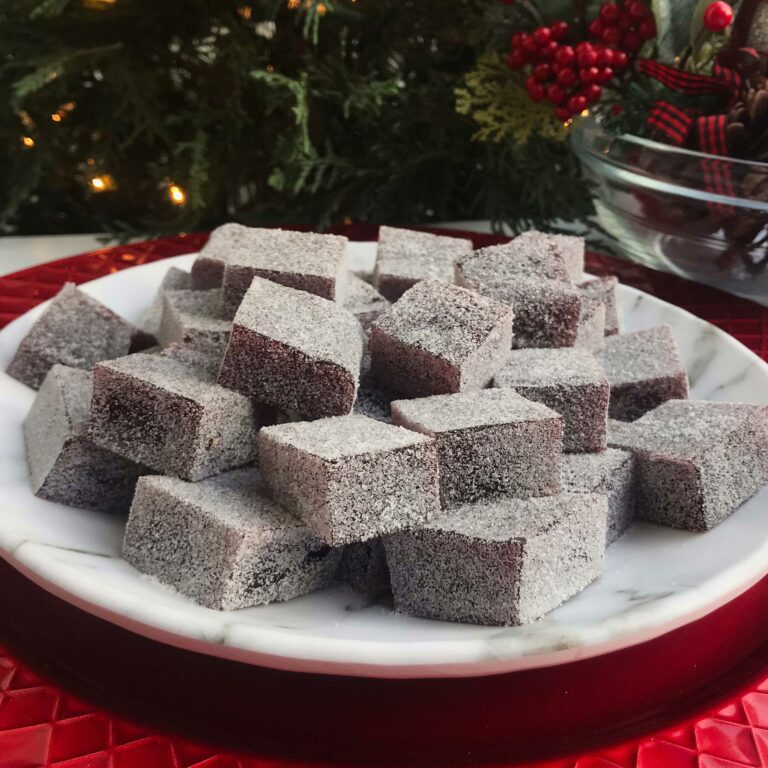
Cherry Jellies
Nutritional information is only an estimate. The accuracy of the nutritional information for any recipe on this site is not guaranteed.
Ingredients
- 10 Oz. Bag frozen cherries about 2 cups
- 1/2 Cup plus 2 Tbsp. Apple Cider or juice or more as needed
- 1 3/4 Cups plus 5 Tbsp. Granulated sugar
- 1.1 Oz. Pouch pectin 2 Tbsp. plus 2 Tsp.
- 1/4 Cup Honey
- Cooking spray
JELLIES COATING
- 1/2 Cup Granulated sugar
- 1/2 Tsp. Citric acid
Instructions
- Spray the bottom and sides of an 8×8 inch metal baking pan with the cooking spray. (you can also use a disposal foil pan) Cut a strip of parchment paper to go across two sides of the pan and the bottom of the pan. There should be paper hanging over the two sides of the pan so you can easily remove when jellies are ready. Lightly spray the parchment paper too.
- To make cherry jellies, in a medium saucepan, combine the cherries and 1/2 cup of water. Bring the mixture to a boil. Reduce the heat to low and simmer the the cherries are soft. Simmer about 5 minutes. Let the mixture cool for about 5 minutes off the heat.
- Pour the mixture into a blender and puree until smooth. Pour the mixture through a fine-mesh strainer that is sitting over a large measuring cup or bowl. Press down on the fruit to extract as much juice as possible. You should get about 1 1/4 cups. If short of the 1 1 /4 cups, add apple cider to make up the difference.
- Meanwhile, in a small bowl mix 3 tablespoons of the sugar with the pectin. Mix to combine.
- In a medium saucepan, mix the pectin mixture, fruit puree, 1/2 cup of cider, honey and remaining 1 3/4 cups plus two tablespoons of sugar. Bring to a boil over medium-high heat and cook for 10 minutes. Whisk constantly. To test if jelly is the right consistency, spoon about a 1/4 teaspoon of the jelly mix on a plate. If you are able to peel off the drop of jelly in one piece after it has cooled for 30 seconds, it is ready. If you can’t peel it off, let it cook for another minute or so. Test again.
- Once ready, using a spatula, scrape the jelly into the prepared baking pan. Let it site at room temperature overnight.
- Lift the jelly out of the pan using the “handles” created by the overhanging parchment paper. Turn it onto a cutting board and remove the parchment paper.
- Cut the jelly into small squares or use small cookie cutters to get different shapes.
- In a large bowl, mix the 1/2 cup of sugar and the 1/2 teaspoon of citric acid. Put a couple of jellies in the sugar mix at a time. Coat in the sugar mixture, and place on a plate or parchment lined baking sheet.
- You can store these in a covered container for up to a week or wrap and gift. Enjoy!

