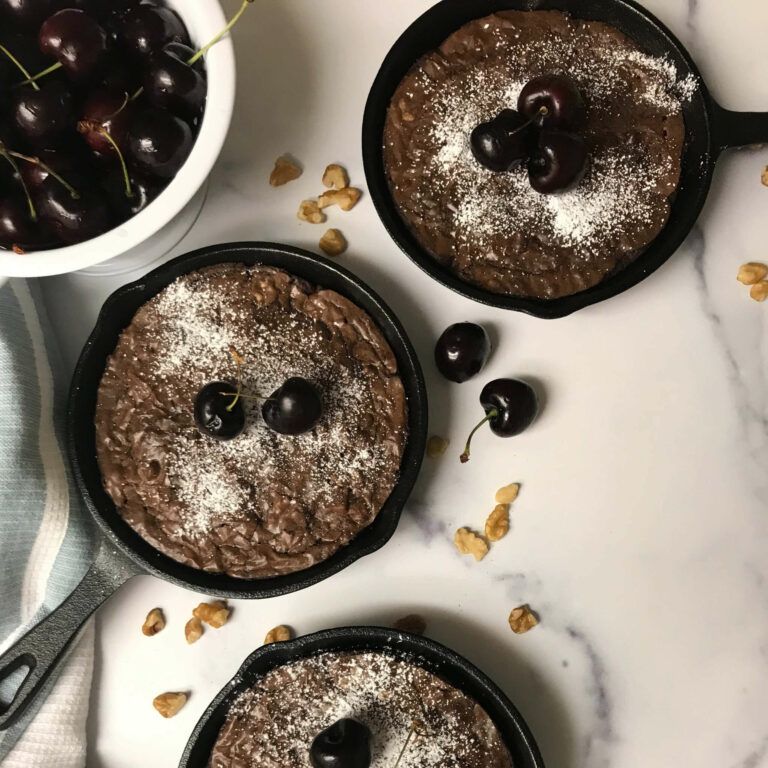
Preheat the oven to 325°F and butter an 8″ square baking pan (for 16 individual brownies) OR use individual cast irons skillets. (See notes) If using the one square pan, cut a piece of parchment paper to cover the bottom of the pan and up two sides with a little hanging over the sides. This will make it easier to remove the brownies at the end. If you are using the skillets, spray well with cooking spray and rub with butter if you want a little extra flavor.
Chop the chocolate into 1/2″ pieces.
In the top of a double boiler or in a heatproof bowl over barely simmering water, melt the bittersweet chocolate and butter, stirring occasionally until smooth. Alternatively, you can melt this in the microwave and heat at 30-second intervals stirring after each 30-second period until smooth. (About 1 ½ minutes) Remove from the heat or take out of the microwave.
In a bowl, beat the eggs, sugar, and salt with a hand mixer until blended. Stir in the melted chocolate mixture. Then, add the flour a bit at a time until well mixed.
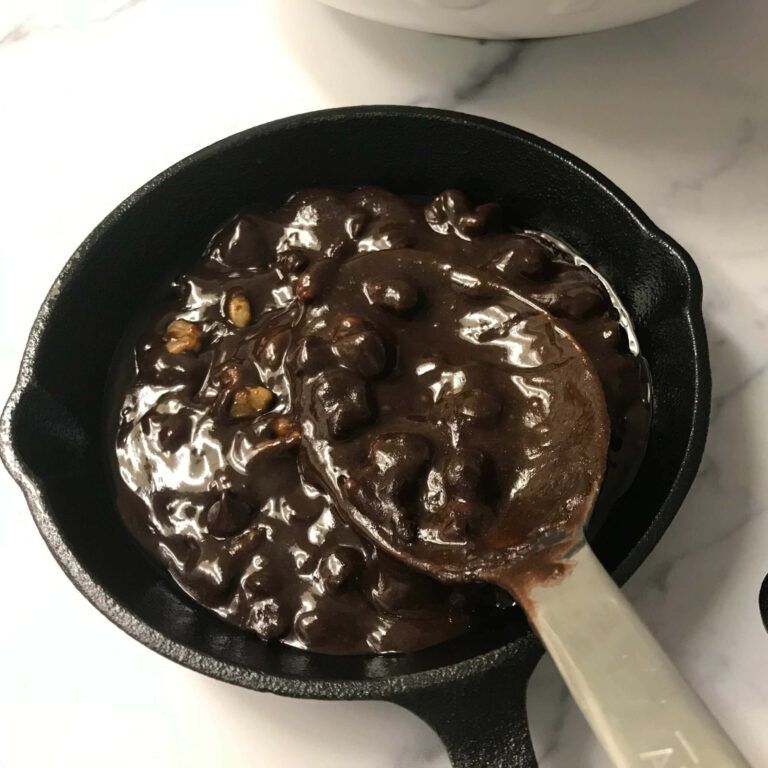
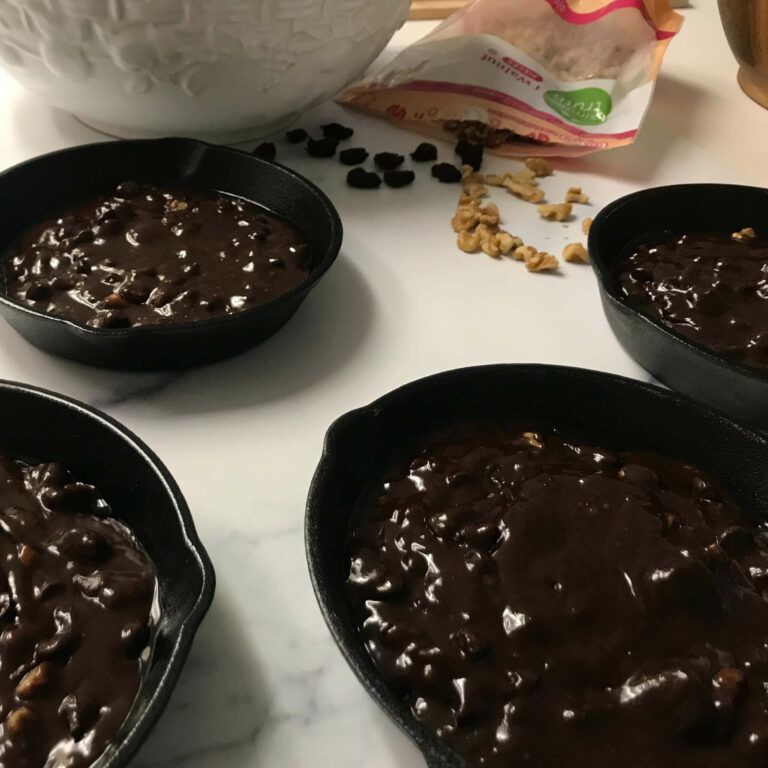
Stir the walnut pieces and cherries into the batter. Pour the batter into the prepared pan.
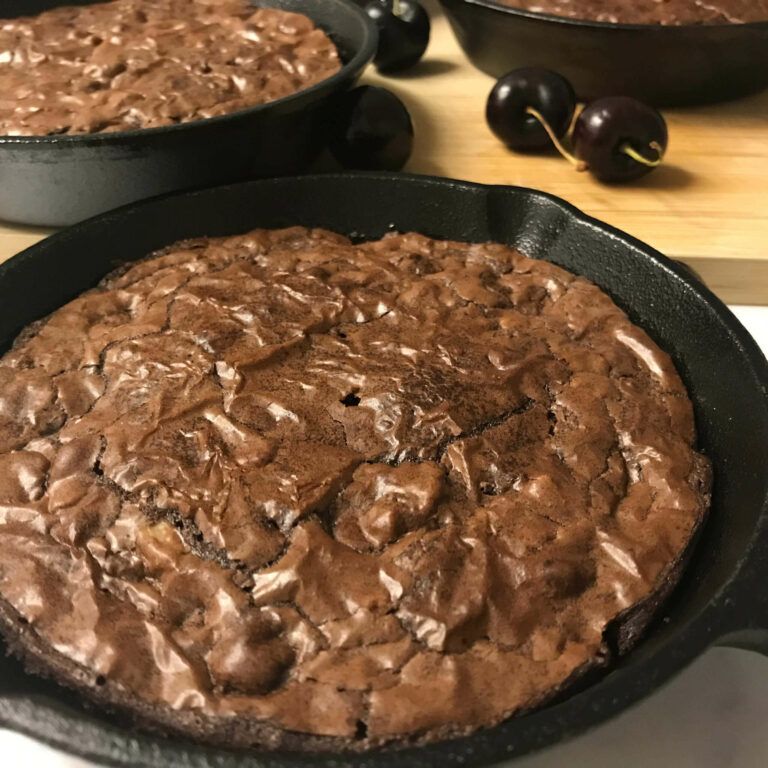
Bake for 35 to 40 minutes if using the one pan (20-25 minutes if using the miniature skillets), until the brownie is set and the center is soft when gently pressed.
Cool completely in the pan on a rack for about one hour. Run a knife around the sides of the pan to loosen the brownie and to release it from the pan. Using the parchment paper “handles”, lift the brownie out of the pan. If using the skillets, just serve the brownie right in the skillet.
If using the one pan, cut the brownies into sixteen pieces (four cuts diagonally and four cuts horizontally).
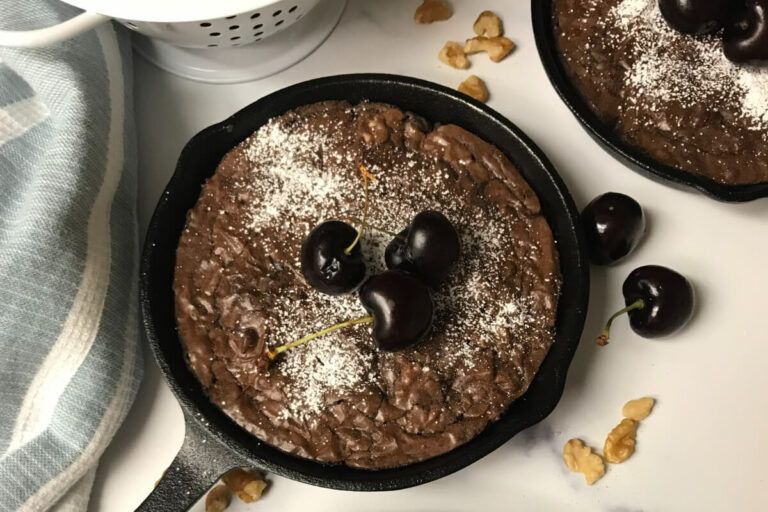
If you like, top the brownies with sifted powdered sugar and serve with a scoop of vanilla ice cream. (The brownies can be served warm in the skillet, room temperature or cold…your choice.)
 Add Us As A Trusted Google Source