


Nutty Buddy Cookie Cake
This fun nutty buddy cookie cake is a take on the old nutty buddy cookies we know and love. Easy to make with just 4 ingredients and delicious.
Nutritional information is only an estimate. The accuracy of the nutritional information for any recipe on this site is not guaranteed.
Ingredients
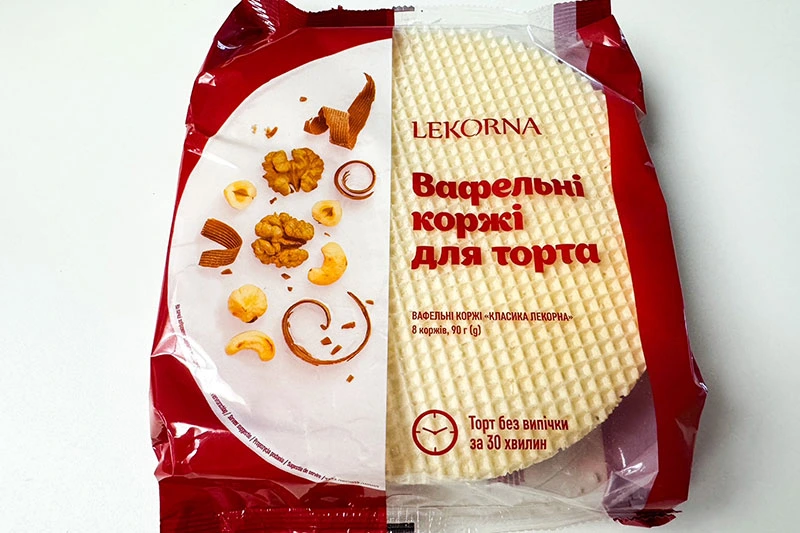
- 5 Wafer sheets
Filling:
- 1 Cup peanut butter, smooth
- ½ Cup almond slices
- Flaky salt to finish (optional) - Maldon is a favorite
Coating:
- 10 Oz. Dark or Milk chocolate melting wafers or chips
- 1 Tbsp. coconut oil plus more as needed (if using chips)
Instructions
- Line a baking sheet with foil and top with a rack.
- Add one cup of smooth peanut butter to a glass measuring cup and microwave in 10 second intervals until melted and pourable (about 30-40 seconds total).
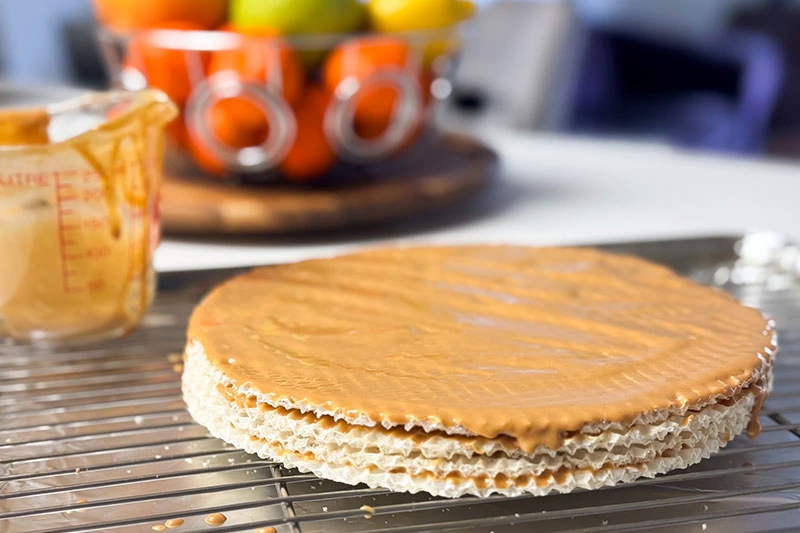
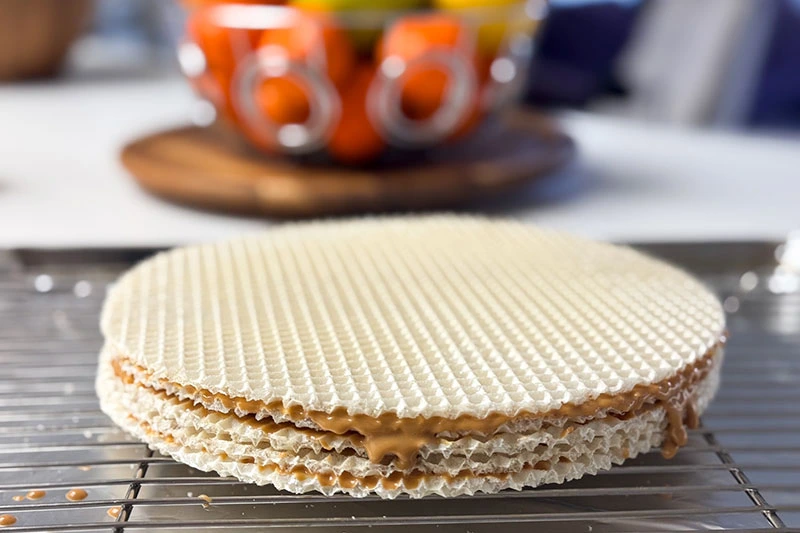
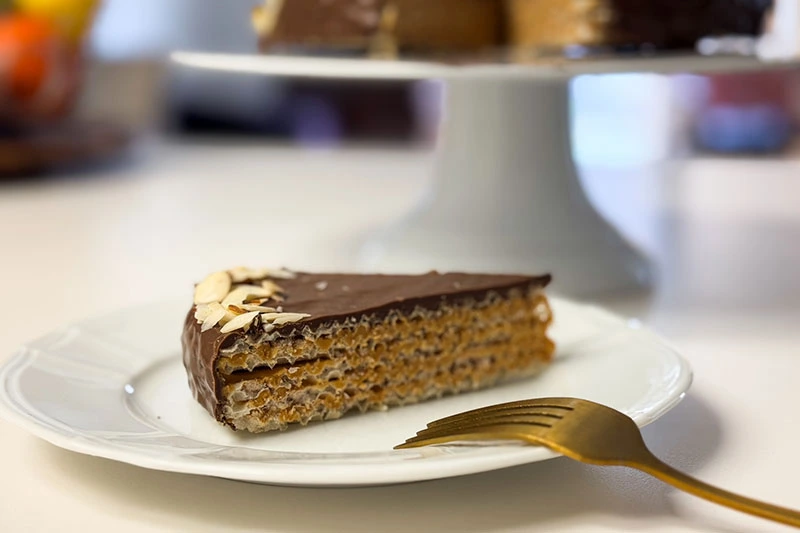
- Place one wafer sheet on the prepared rack and pour about a quarter of the melted peanut butter on top. Using a knife or offset spatula, spread the peanut butter mixture over wafer. Top with a second wafer and gently press down. Top the second wafer with another quarter of the peanut butter spreading to the edges. Do this two more times and finish with the fifth wafer on top. The top layer should be the wafer (not the peanut butter). Press slightly to make the cake compact and tightly put together. Place the stacked cookie cake in the refrigerator for 20 minutes or the freezer for 10 minutes to set up.
- In a microwave, melt the chocolate chips with the coconut oil in a measuring cup. Or melt the melting melting wafers on their own. Heat on medium high in 15-second intervals, stopping to stir every 15 seconds to prevent burning. Heat until smooth. (about 45 second total). If the mixture remains too thick, simply add additional coconut oil 1 tsp at a time.
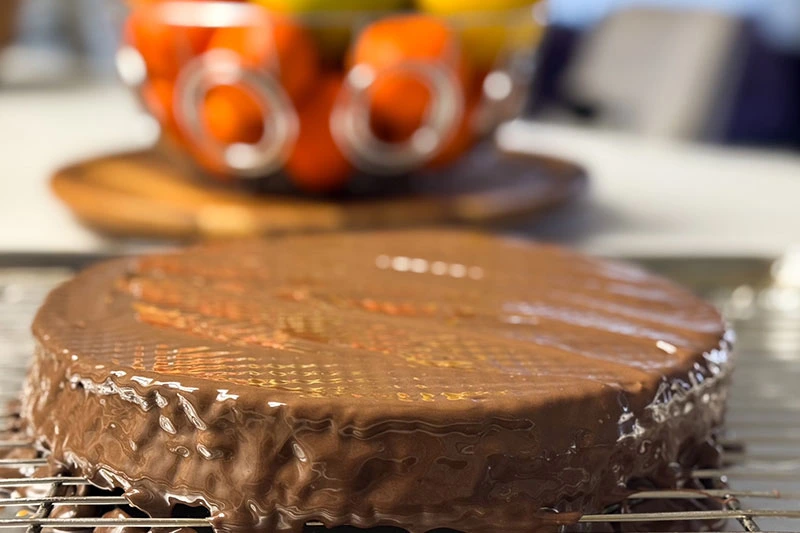
- Remove the chilled cookie cake from the refrigerator. Carefully pour on about three quarters of the melted chocolate and spread with the spatula or knife so it flows down the sides. Add the rest of the chocolate in batches making sure the top and sides of the cake are completely covered. Allow to the excess to drip off.
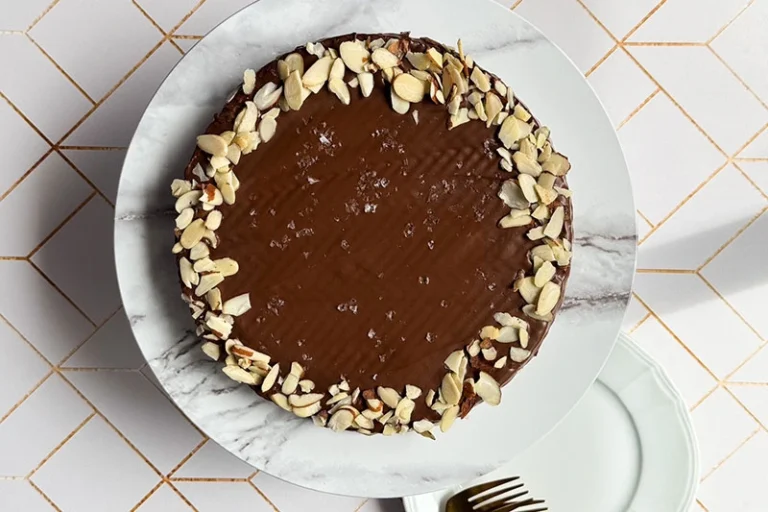
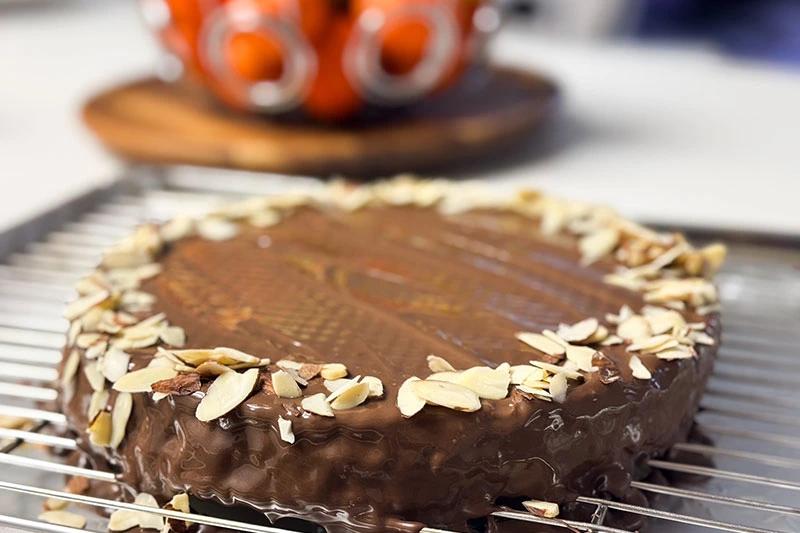
- Once fully coated, sprinkle the sliced almonds or chopped nuts around the outer edges of the cake creating a decorative circle of nuts around the outer edge of the top of the cake. Sprinkle with flaky salt (optional). Using a large spatula, remove the cake to a cake stand or plate and chill in the refrigerator until ready to serve.To serve, cut into wedges. You can serve this with a fork but it can also be picked up like a cookie to enjoy.
Tried this recipe?Let us know how it was!