The World of Girl Scout Cookies
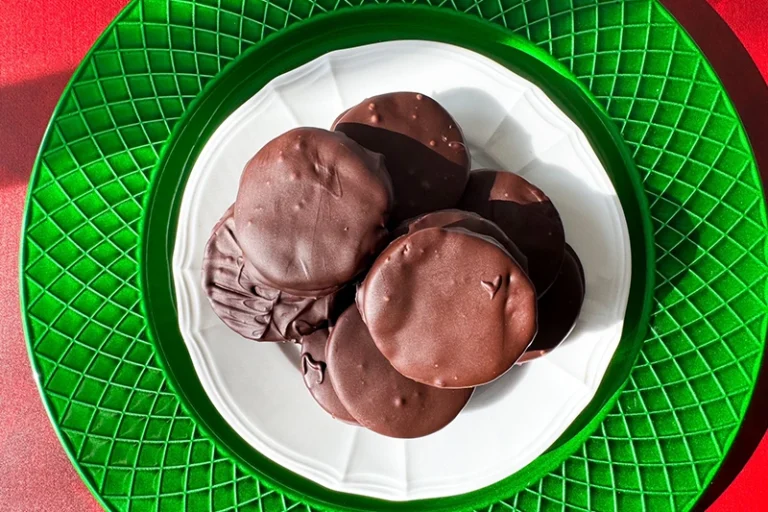
Yes, I was a Girl Scout. I started in the Brownies, moved into Girl Scouts and ultimately “flew up” to the cadets. If you spent any time in the Scouts, you know those cookies were everything! You sold them, you competed for prizes, you ate them (a lot of them) and as the years went by, I started making my own versions. If you’re wondering about the different types of Girl Scout cookies, Thin Mints consistently top the list as the most beloved cookie. Thanks a lot, Girl Scout cookies, for creating such an iconic treat! Nothing beats the experience of enjoying a COLD thin mint cookie straight from the freezer. My thin mint cookie recipe is the ultimate homemade copycat Girl Scout cookie recipe online. You are going to want to try this one.
Thin Mints: The Crown Jewel of the Girl Scout Cookies List
What Makes These Homemade Thin Mint Cookies Special?
These homemade Thin Mint cookies are:
- Slightly crunchy in the centers
- Perfectly peppermint-flavored
- Packed with rich chocolate
- Coated in a mint chocolate layer
- Simpler to make than you might expect
- Absolutely delicious straight out of the freezer
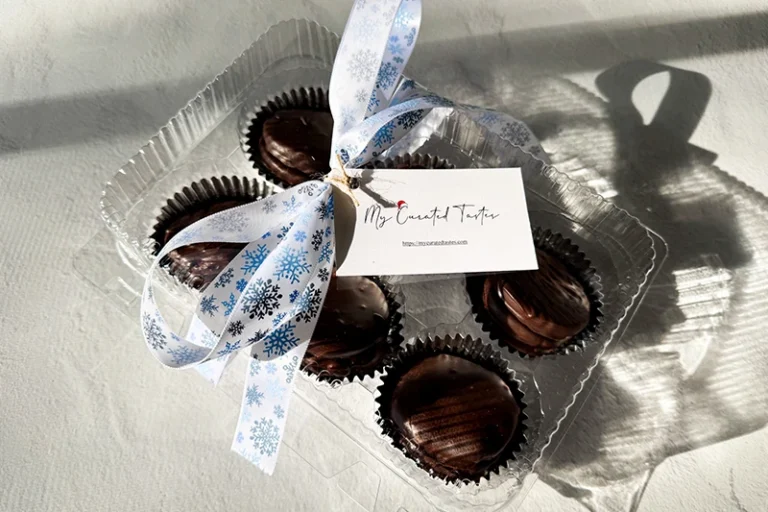
- And available all year long! Which means I don’t have to wait for them to be sold by my local troop, AND I can box them and gift them year-round too!
The Secret to Perfect Homemade Thin Mint Cookies
Key Ingredients for Authentic Thin Mint Flavor
To create the most true-to-original Thin Mint cookie, focus on these key ingredients:
- Cocoa Powder: Use unsweetened cocoa powder for a deep, intense chocolate flavor. The natural bitterness helps balance the sweetness. I use the classic Hershey’s Cocoa Powder and Valrhona Cocoa Powder as my go to brands. I really love the rich, dark flavor of Valrhona and use it in all it’s forms.
- Peppermint Extract: This is the key to that cool, refreshing mint flavor. Pro tip: Use peppermint extract, not mint extract, for the most authentic taste.
- Dark Chocolate: A high quality chocolate bar (Ghirardelli, Lindt, Roth Moser or Valrhona are good choices) Try to select a bar with at least 70% cacao for that rich taste.
- Semi-sweet Chocolate: For the perfect chocolate coating that matches the original Girl Scout cookie, I mix both a semi-sweet chocolate bar with the dark chocolate bars for the perfect balance of chocolate flavor as a glaze on these cookies. Just stay away from chips…they’ve been coated to keep them from sticking in the bag and that interferes with coating the cookies
How to Make Homemade Thin Mint Cookies: Step-by-Step Guide
Preparation Steps
- Preheat your oven to 350 degrees F.
- Sift together dry ingredients in one bowl. Put it to the side.
- Beat butter and sugar in the bowl of a stand mixer until light and fluffy.
- Add egg and both extracts and mix until combined.
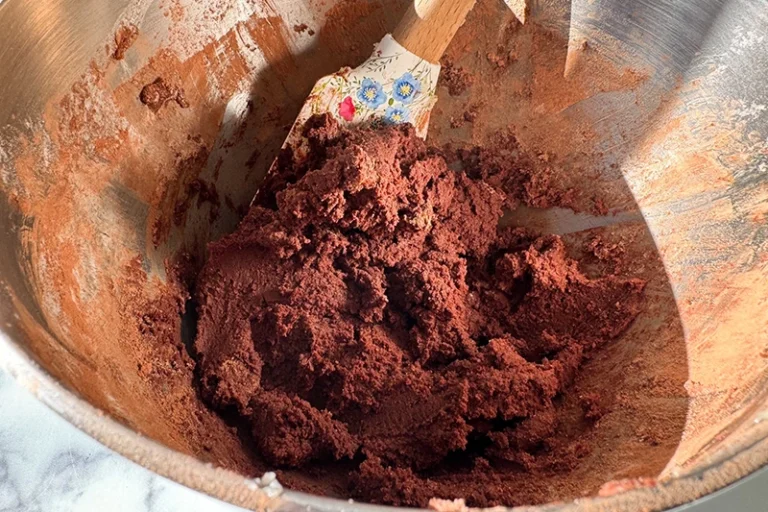
- Gradually incorporate dry ingredients into the wet ingredients. The dough will be very thick and comes together quickly. Remove dough from the bowl.
- Divide dough into two balls and roll out each ball of dough into 1/4-inch thickness. The dough is sticky so place the dough on a piece of parchment paper and top with a second piece and roll the dough. Do this with both balls of dough and put in the fridge on a baking sheet to chill.
- Refrigerate for at least 1 hour
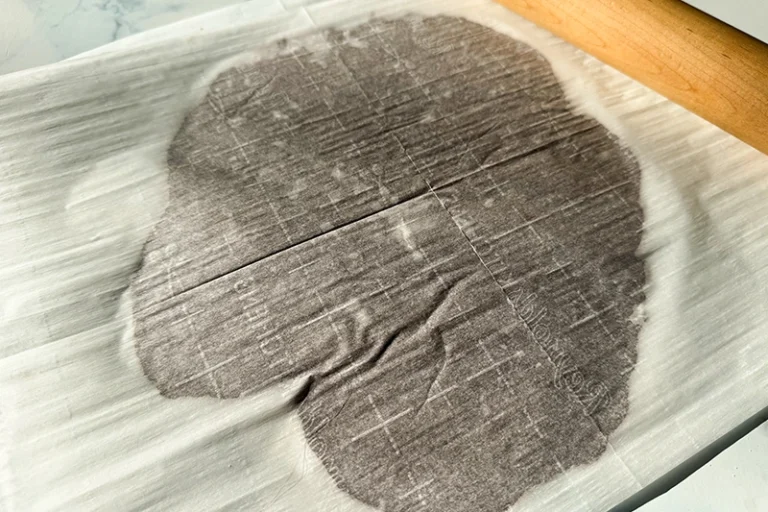
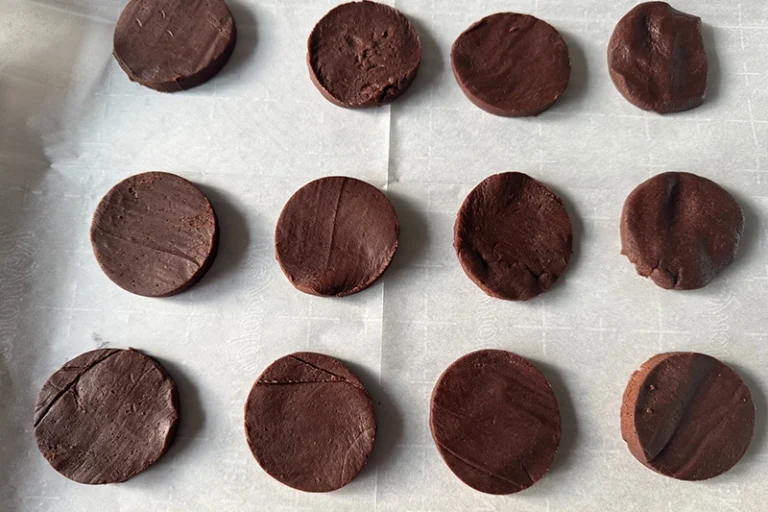
- Working with one piece of dough at a time, use a 2 – 2 1/2 inch round cookie cutter to cut out cookies. Place them on a baking sheet covered with parchment paper.
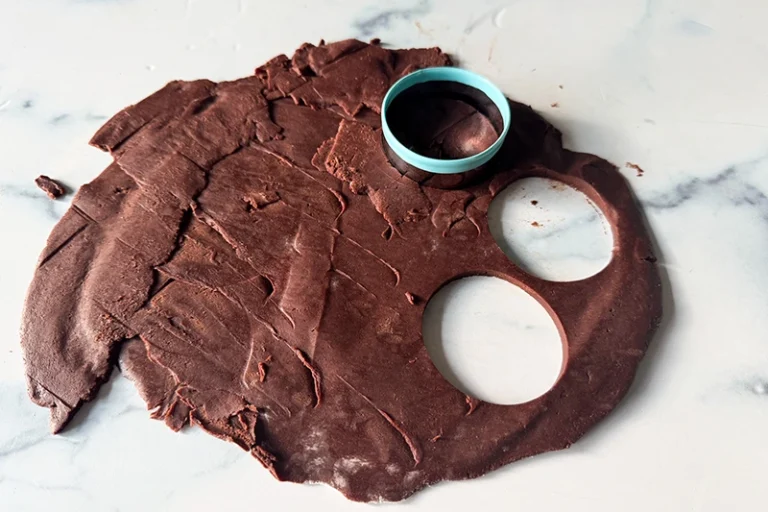
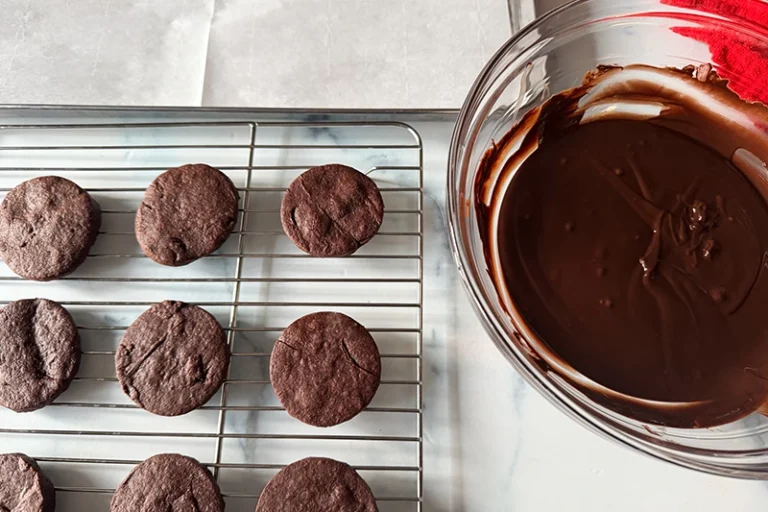
- Bake for about 10 minutes. Let cool 10 minutes then transfer them to a cooling rack to cool completely.
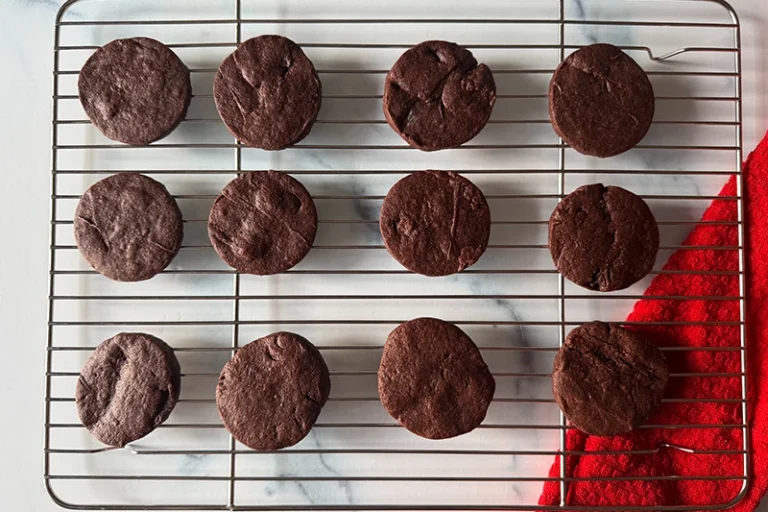
- Break up your chocolate bars and put in a microwave safe bowl. Add the mint extract and oil. Microwave in 20 second intervals until the chocolate is melted. Stir in between intervals until smooth. Let cool for a couple of minutes.
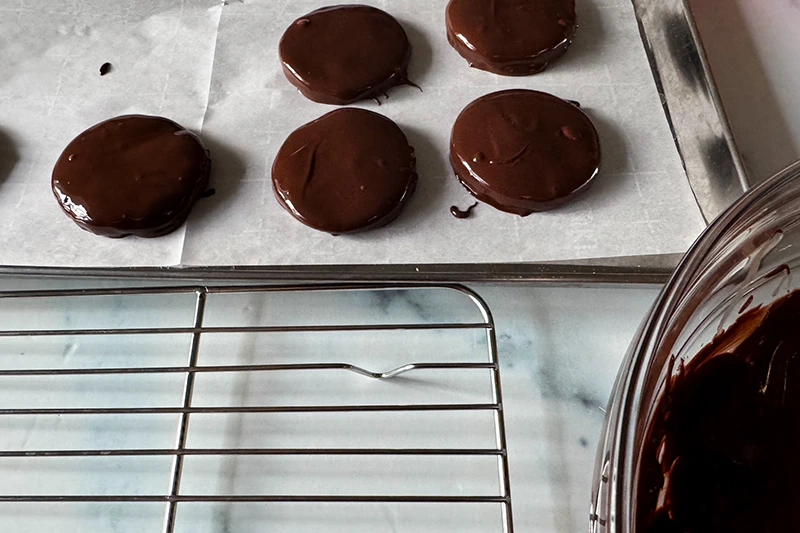
- Dip cookies in chocolate glaze using a fork. Let excess drip off then place on a parchment lined baking sheet. Place in the refrigerator until ready to serve.
Pro Tips for Making the Perfect Thin Mint Cookies
Baking and Chocolate Coating Techniques
- Bake cookies for 8-10 minutes.
- Use high-quality chocolate like Ghirardelli, Roth Moser bars from Aldi, Valrhona or Lindt bars.
- Avoid chocolate chips for coating. They are already coated and don’t make a good glaze for your cookies.
- Add a small amount of oil to the chocolate to prevent chocolate from seizing. It also gives a nice shine to the cookies.
- Use a fork to dip cookies for easy chocolate coating. Let excess drip off. Tap the cookie against the side of the bowl to help remove excess but really, is there such a thing as too much chocolate?
Alternative Cookie Cutting Methods
No Cookie Cutter? No Problem!
No cookie cutter? Here are some alternatives:
- Use a drinking glass with a thin rim (a champagne flute is perfect!)
- Utilize an empty tin can (a tomato paste can works – make sure it’s clean)
- Create a slice-and-bake log version (roll the dough into a log and then just slice 1/4 inch thick slices and place on the baking sheet to bake.) This is also a great way to have dough available in your freezer. Then, just slice and bake when you want a cookie.
More Than Just Thin Mints
Exploring Girl Scout Cookies Kinds
While Thin Mints reign supreme, the Girl Scout cookies list offers a delightful variety of flavors to satisfy every taste bud. Once a Girl Scout, always a Girl Scout and even though I make these copycat cookies year round (and in particular for my mint obsessed niece), I still support the Girl Scouts and their fundraising efforts. You’ll still see them selling their cookies somewhere between January and April (It is usually February in my area.) Be sure you support their efforts and grab a couple of boxes. Here’s a comprehensive rundown of the current Girl Scout cookie options:
- Thin Mints: The classic chocolate-mint cookie that everyone loves
- Samoas/Caramel deLites: Coconut and caramel-covered cookies
- Tagalongs/Peanut Butter Patties: Crisp cookies topped with peanut butter and chocolate
- Trefoils/Shortbread: Traditional shortbread-style cookies
- Do-si-dos/Peanut Butter Sandwich: Peanut butter sandwich cookies
- Lemon-Ups: Crisp lemon cookies with inspirational messages
- Adventurefuls: Brownie-inspired cookies with caramel center
- Toffee-tastic: Gluten-free butter cookies with toffee bits
- Raspberry Rally: Thin, crispy raspberry-flavored cookies
- S’mores: Graham cracker-style cookies with chocolate and marshmallow filling
Each of these cookies offers a unique flavor profile, but Thin Mints continue to be the most popular choice for cookie enthusiasts nationwide and I’m pretty sure, my recipe will be at the top of your cookie recipe list. While this cookie isn’t on the Girl Scout list, it is definitely on my family’s favorite list…be sure to try my Chocolate Dipped Pistachio Macaroons.
Storing and Enjoying Your Thin Mint Cookies
The Freezer Method: A Great Tip
Experienced bakers know the secret: Thin Mint cookies taste incredible when stored in the freezer. The cold temperature enhances the mint and chocolate flavors, creating an unbeatable treat that both adults and kids will love. I stack them between layers of parchment paper in a plastic, freezer safe storage container with a lid.
Frequently Asked Questions About Thin Mint Cookies
Common Thin Mint Cookie Questions
A: Absolutely! While I used a combination of semi-sweet and dark chocolate, you can substitute all dark, semi-sweet or milk chocolate based on your preference. Mixing them creates an amazing result.
A: I do not recommend it. Chips are coated so they don’t stick in the bag. That coating doesn’t make for the best smooth, chocolate coating. Use a good quality chocolate bar for the best results.
A: When stored in an airtight container in the refrigerator, they’ll last about a week. In the freezer, they can maintain quality for up to a month.
A: Yes! You can prepare the dough and refrigerate it for up to 3 days before baking.
A: Yes, peppermint extract is crucial for achieving that classic Thin Mint flavor. Mint extract won’t provide the same result so don’t substitute it. Don’t try spearmint either. You must use peppermint.
This is by far the most frequently asked question and the answer is a resounding yes! In fact, freezing is the secret to the most delicious Thin Mint experience. Keeping them in the freezer for a treat any time the urge strikes. Add a glass of milk for a childhood memory that comes alive.
Conclusion
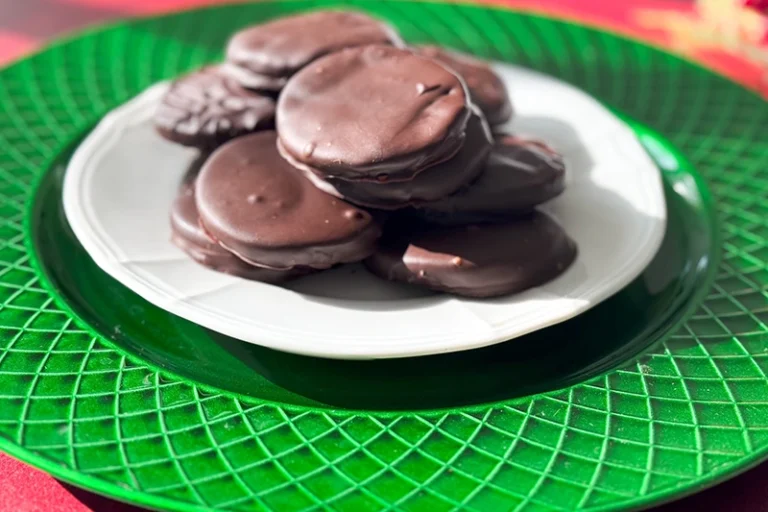
Thanks a lot, Girl Scout cookies, for inspiring home bakers to create their own versions of these beloved treats. Making homemade Thin Mint cookies is simpler than you might think. With this recipe, you can enjoy the beloved Girl Scout cookie any time of year, customized to your exact taste preferences. Enjoy.
Did you like this recipe? If so, please leave a rating and comment below. I’d love to hear how they turned out. Like cookies? Be sure to try some of my other favorite cookie recipes:
Cherry, Pecan, Chocolate Chip & Oatmeal Cookies
Cranberry Pistachio Shortbread Cookies with White Chocolate

Thin Mint Cookies
Nutritional information is only an estimate. The accuracy of the nutritional information for any recipe on this site is not guaranteed.
Ingredients
- 3/4 cup unsalted butter, room temperature
- 1 cup granulated sugar
- 1 large egg, at room temperature
- 1 teaspoon pure vanilla extract
- 1/4 teaspoon peppermint extract
- 1 and 1/2 cups all-purpose flour
- 3/4 cup unsweetened cocoa powder (Hershey's or Valrhona are favorites)
- 1 teaspoon baking powder
- 1/8 teaspoon kosher salt
Chocolate Glaze
- 7 ounces semi-sweet chocolate, a good quality bar coarsely chopped
- 7 ounces dark chocolate, a good quality bar coarsely chopped
- 1/2 teaspoon canola oil
- 1/4 teaspoon peppermint extract
Instructions
- Make the cookies: In a large bowl of a stand mixer, beat the butter for 1 minute on medium speed until completely smooth and creamy. Add the granulated sugar and beat on medium high speed until light and fluffy. Beat in the egg, vanilla extract, and peppermint extract on high speed. Scrape down the sides and bottom of the bowl as needed.
- Sift the flour and cocoa powder together in a medium bowl. Whisk in the baking powder and salt. With the stand mixer on low speed, slowly add the dry ingredients into the wet ingredients until combined. The dough will be very thick and sticky to the beater. Remove the dough from the bowl.
- Divide the dough into 2 equal parts. Roll each portion out onto a piece of parchment to about ¼ inch thickness. I top the dough with a second piece of parchment and roll on top of that. It makes it easier and the dough won't stick to your rolling pin. Put both rolled pieces of dough on a baking sheet and place in the fridge for at least an hour. The dough must be really cold so you can work with it. You can chill up to 2 days.
- Preheat oven to 350 degrees F. Line 2 large baking sheets with parchment paper. Remove one of the dough pieces from the refrigerator and using a 2-inch round cookie cutter, cut in circles. Transfer the cut cookie dough to the prepared baking sheet. Re-roll the remaining dough and continue cutting until all is used.
- Bake for 10 minutes. The cookies may seem soft but they crisp up a bit as they cool. Rotate the baking sheet halfway through bake time for even cooking. Cool on baking sheet for 5 minutes, then transfer to a wire rack to cool completely before dipping in chocolate.
- Once the cookies are cool, make the chocolate glaze: Melt the chopped chocolate and oil together in a microwave safe bowl. Melt in 20 second intervels, stirring after each segment until completely melted and smooth. Once melted, stir in the peppermint extract. Using a fork, dip each cooled cookie completely into the chocolate. Tap the fork with cookie on it gently on the side of the bowl to allow excess chocolate to drip off. Place cookie on a parchment lined baking sheet. Place the baking sheet into the refrigerator to let the chocolate set. I usually leave them in the fridge for about 20 minutes to one hour. Once set, enjoy!
- You can cover and store cookies at room temperature for up to 2-3 days or in the refrigerator for up to 1 week. You can also freeze these and eat them straight from the freezer which is my favorite way to have these. Don't forget the milk!

