My Curated Tastes is reader-supported. When you buy through links on our site, we may earn an affiliate commission at no extra cost to you. As an Amazon Associate I earn from qualifying purchases.
Coconut Custard Pie has been on our family’s holiday dessert table since I was a child. There was the mandatory pumpkin pie, apple pie and an Entenmann’s Coconut Custard Pie. We are from the East Coast and it was Entenmann’s all the time. Mind you, this wasn’t a high quality pie or a freshly baked Marie Callender’s pie, this was an off the shelf, pre-boxed must have for the holidays. My father and brother gravitated to it like a moth to a flame (starting to sound like my mother…lol). So, finally after years of not being able to find Entenmanns on the West Coast, I decided to make my own.
I did take a short cut and used a frozen Marie Callender’s pie shell. I’ve found the quality to be good and since I really wanted to get the coconut custard right for this dessert, and was looking for an easy way to get this to the holiday table, I used the pre-made pie shell. As always, use your own favorite or make your own pie crust.
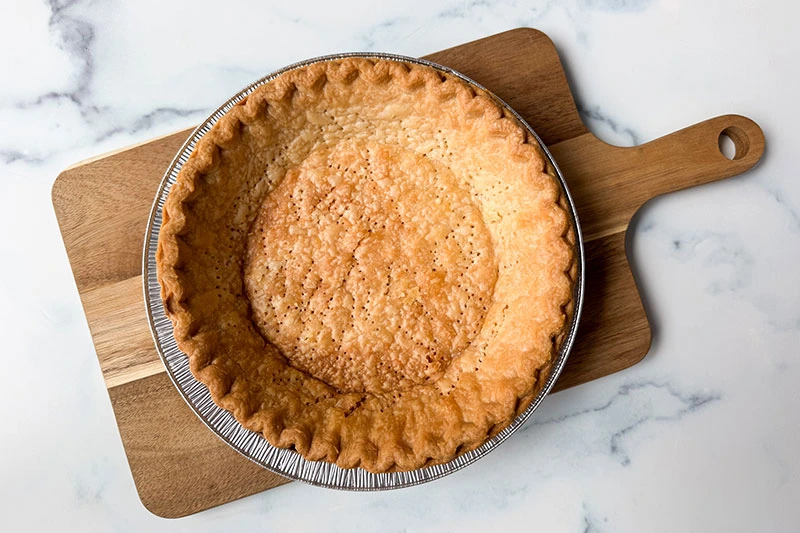
To get started I simply let the pie crust sit on the kitchen counter for about 10 minutes to thaw slightly. Then, I pricked it all over the bottom and sides with a fork. This will keep the crust from puffing up when baked. I popped it into a preheated 375 degree F. oven and baked for about 10-12 minutes. Just follow the instructions on your crust’s packaging. Once golden brown, I removed from the oven and let it cool. Simple so far, right?
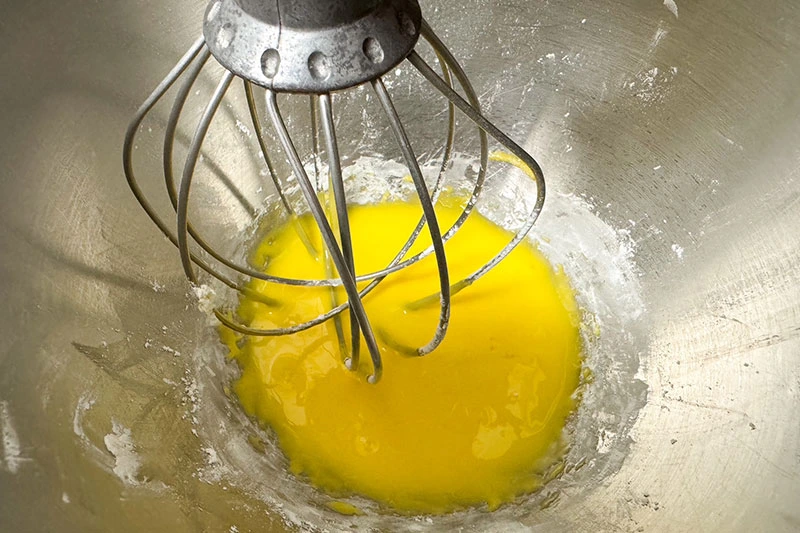
Next up, in my stand mixer, I whisked up four room temperature egg yolks and a quarter cup of cornstarch. You want the egg yolks room temperature so when we add the hot liquid in the next step, they don’t start to scramble. This is all about temperature when making the custard. Just turn off the mixer and move on to making the custard.
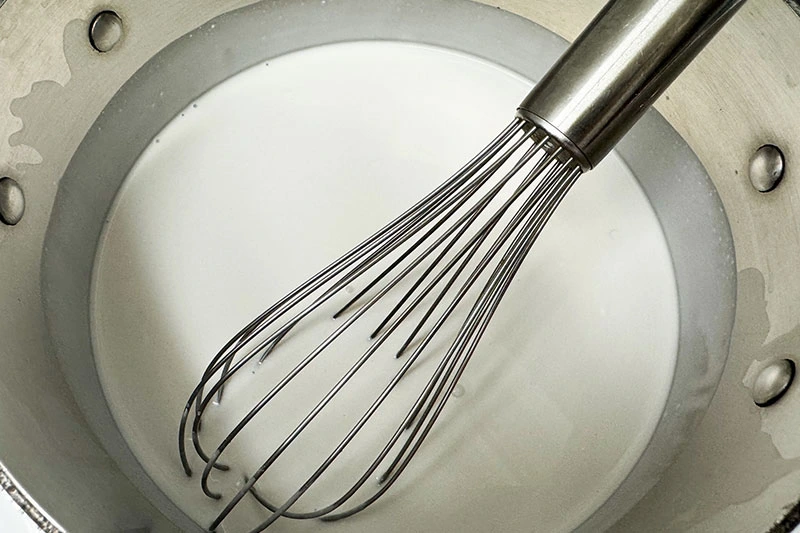
On the stove in a medium sized pot, add the coconut milk, half and half, sugar and salt. Place the post over medium heat and whisk to combine ingredients and get the sugar to melt into the liquid. Bring it to a boil.
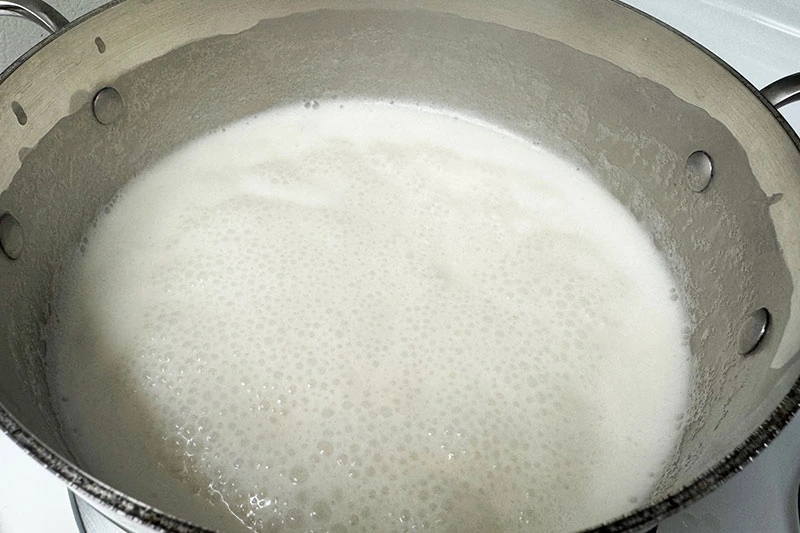
Let the mixture boil for about two minutes. It will start to thicken. Reduce the heat to medium low.
Using a measuring cup, take out about a 1/2 cup of the hot liquid. Turn the stand mixer on to low and start to mix that egg and cornstarch mixture again. Slowly pour in the hot liquid and continue mixing. Once all the liquid is in, increase the speed and mix for another 15 seconds.
You have now tempered those eggs and have brought them up to temperature. This way, they will not “scramble” when you add them to the pot of hot liquid on the stove.
Gradually pour the egg mixture from the standing mixer bowl into the pot with the hot liquid. Whisk constantly to combine. The mixture will immediately start to thicken and turn a pale yellow in color. Keep whisking for about 90 seconds to completely combine.
At this point, if you detect any lumps or small egg bits, you can strain this mixture through a fine mesh strainer into a bowl. Using a spatula, push the mixture through the strainer. This will get the custard super smooth. This is optional and really only needed it you detect any lumps.
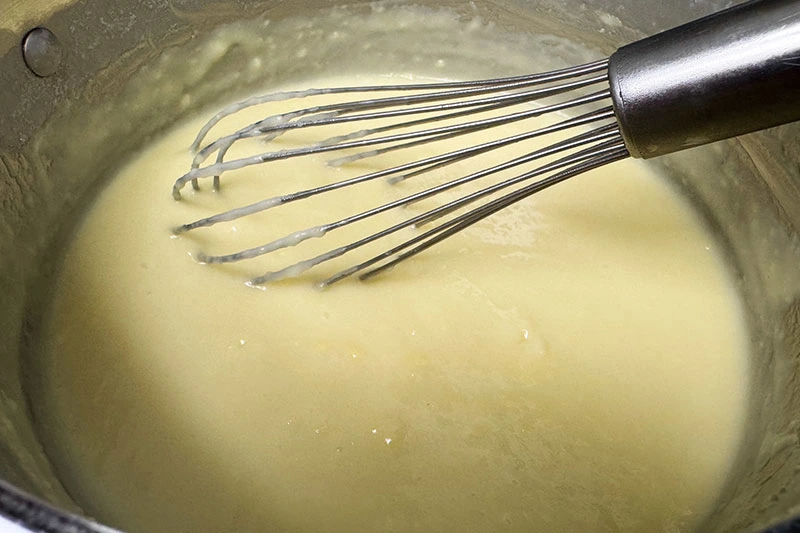
Take the pot off the stove (or if you’ve strained it, you’ll have the mixture in a bowl) and add the butter, vanilla and coconut extracts, and a cup of coconut. Stir into the custard to combine.
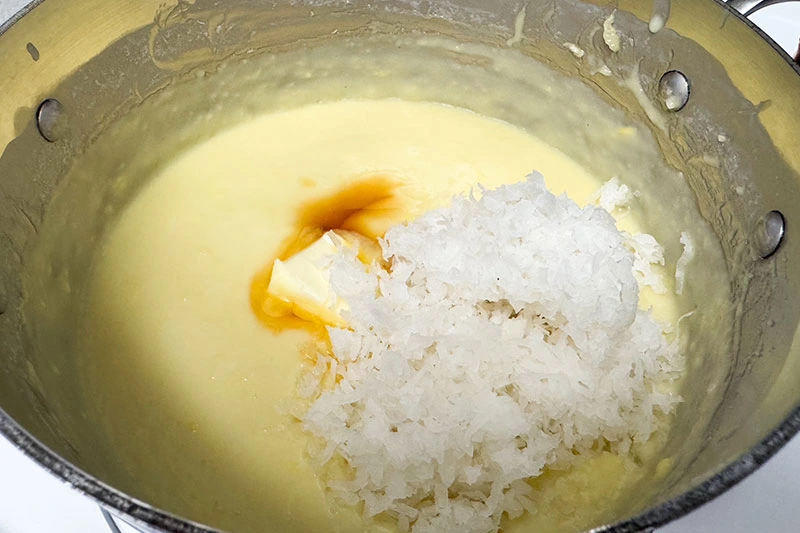
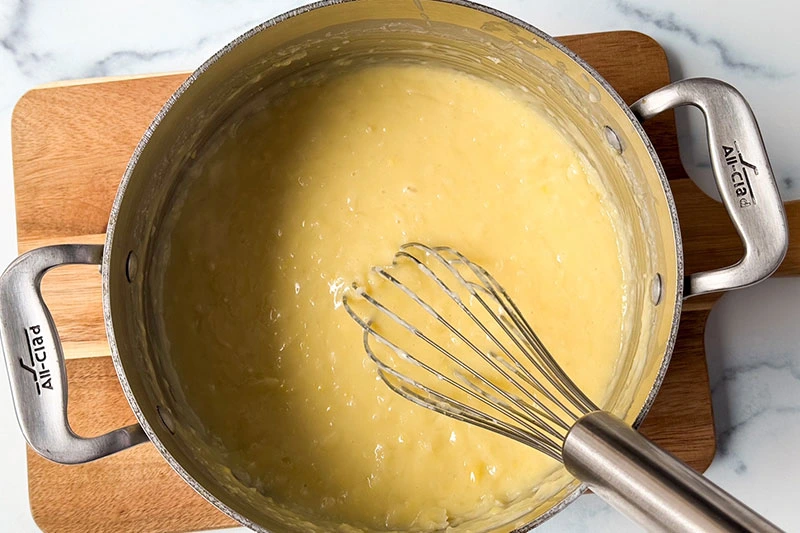
Once all the ingredients are combined into the custard, pour the warm mixture into the prepared, baked pie shell.
The filling should come right to the decorative edges of the baked pie shell. If needed, smooth the top with a rubber spatula or lightly bang the pie shell on the kitchen counter to even out the top of the custard.
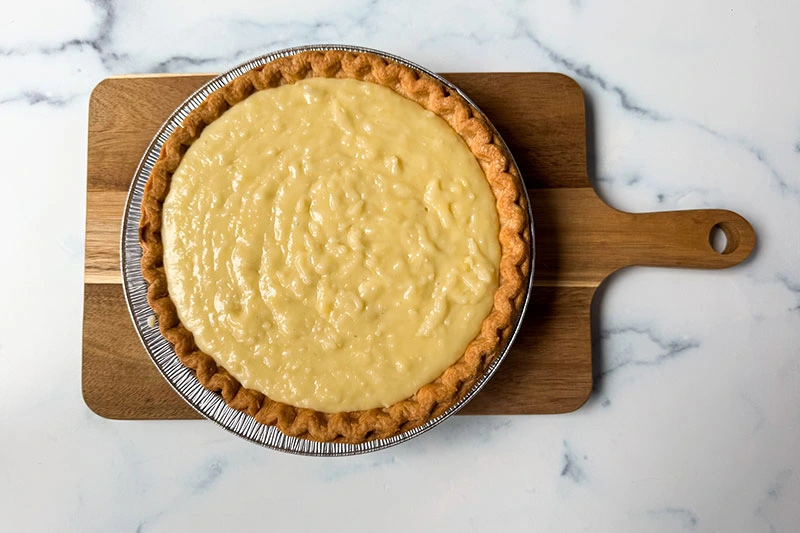
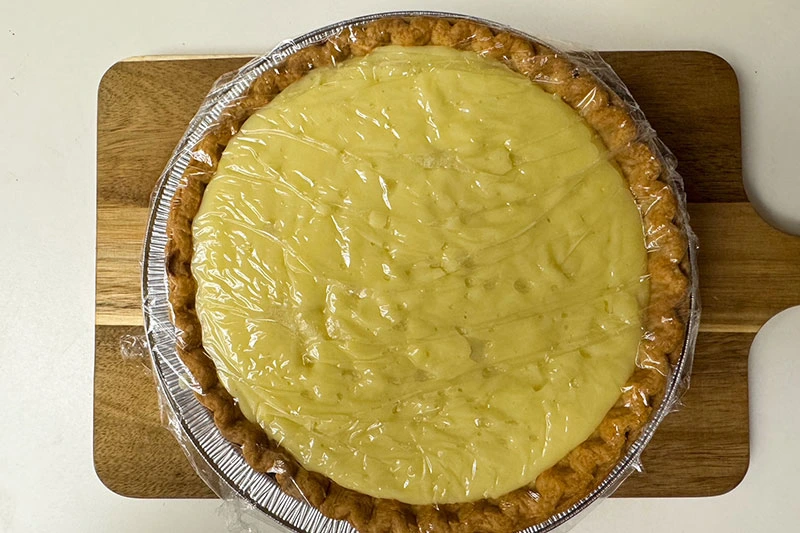
Cover the pie with plastic wrap pressing it so it touches the custard. You want the plastic wrap directly on the custard to prevent a skin from forming. Just like you do when making pudding. Place the covered pie in the fridge for at least 3 hours and up to overnight to chill and set.
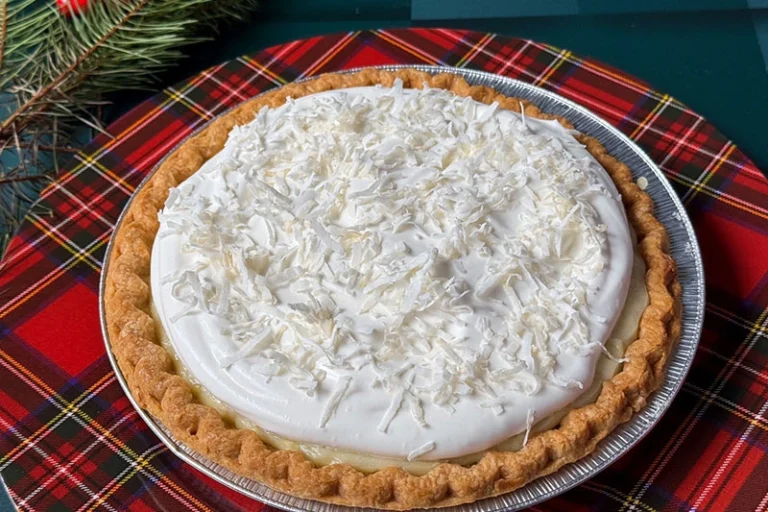
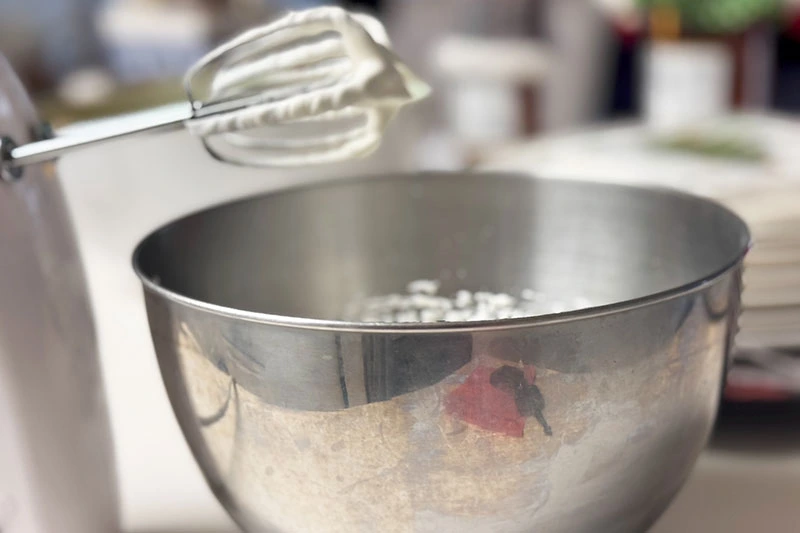
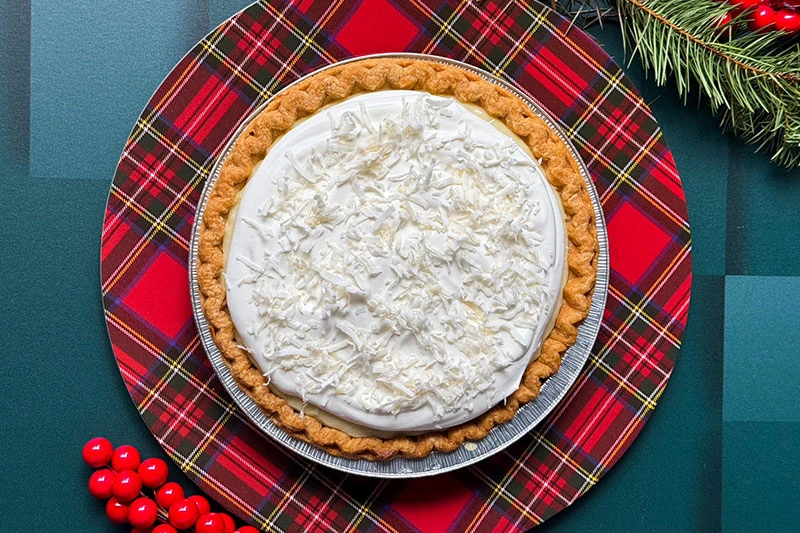
Once ready, I top my pie with whipped cream. I mix heavy cream, vanilla and powdered sugar with my hand mixer until I get light and fluffy whipped cream. I spread that over the top of the pie. This might be considered an added indulgence and there are those in my family (you know who you are) that would prefer the pie without the whipped cream. Your call.
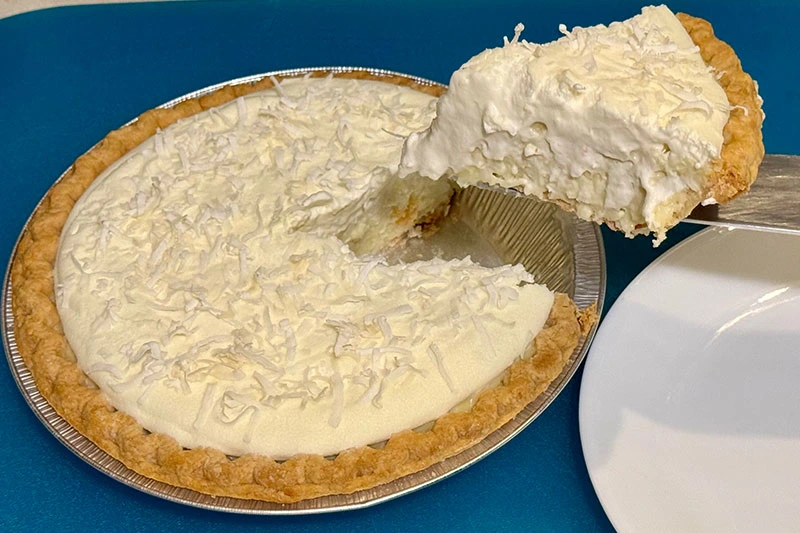
I then sprinkle the top of the pile with some unsweetened coconut flakes. I like the balance of the sweetened cream with the unsweetened coconut. Alternatively, you could omit the whipped cream and just sprinkle the top of the pie with coconut (sweetened or unsweetened, toasted or untoasted). You really can’t make a made choice here since this pie is delish! The custard is rich and thick and really delicious.
FREQUENTLY ASKED QUESTIONS ABOUT MAKING COCONUT CUSTARD PIE
If you enjoyed this recipe, be sure to leave a rating and comment below. I’d love to hear if you went with the whipped cream or not. If you are looking for other great dessert recipes, be sure to try some of these:
Gâteau Invisible (Invisible Apple Cake)
Pavolova with Blackberries & Ginger
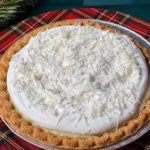
Coconut Custard Pie
Nutritional information is only an estimate. The accuracy of the nutritional information for any recipe on this site is not guaranteed.
Ingredients
- 1 Unbaked pie crust (store bought), 9 “ pie shell
- 4 Lg. egg yolks
- 1/4 Cup cornstarch
- 1 (14 ounce) can full fat coconut milk
- 1 Cup half-and-half
- 2/3 Cup granulated sugar
- 1/4 Tsp. Kosher salt
- 1 cup sweetened shredded coconut
- 2 Tbsp. unsalted butter, room temperature
- 1 Tsp. pure vanilla extract
- 1/2 Tsp. coconut extract
Whipped Cream
- 1 1/2 cups Heavy cream, cold
- 3 Tbsp. Confectioners’ sugar
- 1 Tsp. Pure vanilla extract or vanilla paste
- 1/4 Cup unsweetened coconut shavings, for topping
Instructions
- Preheat the oven to 375 degrees F. Bake the crust per the package instructions and cool the pie crust completely.
- To make the coconut custard filling, whisk the egg yolks and cornstarch together in a large bowl OR in a stand mixer with the whisk attachment. (my preference since it will free up your hands to pour the hot liquid in later). Set aside. In a large saucepan, whisk the coconut milk, half-and-half, granulated sugar, and salt together over medium heat. You want the sugar to dissolve into the mix. Bring the mixture to a boil. Boil for 2 minutes, then reduce temperature to medium-low heat.
- Using a measuring cup,remove about 1/2 cup of the mixture and, in a slow and steady stream, whisk into the egg yolk and cornstarch mixture while the stand mixer is on low. If whisking by hand, be careful that you aren't splashing the hot liquid. Keep whisking to prevent the eggs from scrambling. You are basically warming up the eggs and bringing them to temperature so they won't scramble when you add them back to the hot pot on the stove.
- Once incorporated, take that mixture and add it into the hot mixture in the pot on the stove. Add in a slow steady stream whisking as you pour.
- The custard will immediately begin to thicken. Whisk and cook for 1 minute - 2 minutes. If you notice any lumps or small pieces of egg, strain the mixture through a fine mesh strainer into a bowl. Use a spatula and press the mixture through the strainer. That will make the custard super smooth. Remove from heat and stir in the coconut, butter, vanilla, and coconut extract. If you've strained the mixture, add the ingredients to the bowl with the strained custard and stir to combine.
- Pour the warm filling into the cooled pie crust. Cover tightly with plastic wrap putting the plastic wrap directly on the surface of the pudding to prevent a skin from forming. Refrigerate for at least 3 hours or overnight until chilled and completely set. The pie can be made and refrigerated for up to 1 day before topping with whipped cream and serving.
- Make the whipped cream using a hand mixer or a stand mixer fitted with a whisk attachment, whip the heavy cream, sugar, and vanilla extract on medium-high speed until medium peaks form, about 3-4 minutes.
- Dollop the whipped cream on top of the pie and spread to the edges of the custard leaving the crust exposed. Garnish with the unsweetened coconut. Chill the pie for a couple of hours or serve it immediately, your choice.Cover leftovers and store in the refrigerator for up to 5 days. I've never had it last that long, but you can keep it that long!!! Enjoy every bite.

